Bonnet disassembly (again!) (24 – 26 May 2003)
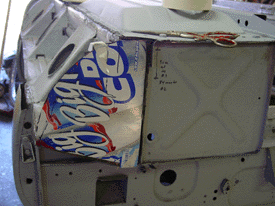
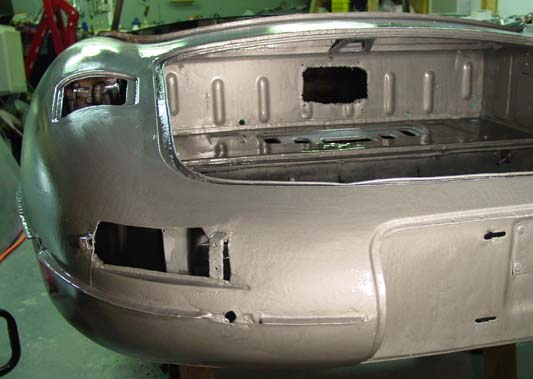
I completed the body filling on the front section of the bonnet, and so it was time to take the various pieces apart once again. You might recall that we inserted thin cardboard strips between the sections before bondoing (more details here 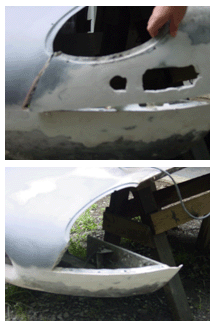 near the bottom of the page). Now that we needed to take it all apart again, it was just a matter of removing the hardware and tapping the pieces with a rubber mallet. The two wings came off with a little tiny tap, and the lower section dropped from the center section without so much as a wiggle or twist. The parts look good. (The pictures to the right are small because the originals were very fuzzy. Making them smaller at least shows the gross results a little more clearly. Next time, I’ll look at the picture on the camera before continuing!)
Once the various sections were apart, we could move them around more easily, making it easier to smooth the parts that were harder to access, such as the bottom of the lower bonnet section and the inside parts of the bonnet mouth.
One thing we ran into that sapped several hours was bad behavior of a “sandable” primer made by Rustoleum. We applied some sandable primer over well cured “regular” primer (also a Rustoleum product), and the sandable primer formed cracks before our eyes as it dried. We were dumb enough to try twice, thinking we hadn’t prepped the primer surface, but the same cracking occurred. Then we gave up, and the bad Rustoleum primer went on the shelf. I’m thinking it would work fine on clean metal, but over primer it will not do.
We wanted to use the sandable primer to take out some of the irregularities still hiding on the nose of the bonnet. We’ll do the best we can without it at this point, and pay special attention to the area when we use the “Tie-Coat” primer over the POR-15. It, too, is sandable.
We focused effort on the bonnet’s center section and the lower section. We were able to get the front of the center section in good shape and prepared for POR-15. The “mouth” section of the bonnet still requires a bit more work, especially since the left and right sides of the center section don’t seem quite symmetrical. One thing about working on the mouth with disassembled pieces: it is easier to get at areas and to compare the two sides of a part from different angles. That ability alone has speeded the process.
The plan now is to complete the little metal work (mainly grinding) that is left on a few of the tabs of the bonnet, reassemble the pieces using cardboard along the top seam between the two wings and the center section, and then smooth that seam as we did the others in front. The next time we disassemble should be the last (except, of course, for some adjustment as will probably be required). After this “cardboard” treatment, the bonnet will be ready for final smoothing and application of POR-15. Then reassembly with adhesives and all the parts!
A little chrome buffing (17 – 18 May 2003)
Since it was raining, a little inside work was in order. I took out the buffer and grabbed the left front bumper. The chrome was obscured by lots of dirt and what may have been oxidized chrome. But after some quick buffing with cleaning grits the old luster came out. The plating looks pretty good from a few feet, but at close range you can see how thin the plating is in some areas. Although the chrome isn’t blistered or grossly pitted, there are very small, almost pore-like, holes in the plate. These are visible only up close.
The bumpers are good enough that replating them would be a waste of money, and I’m hoping that a high-gloss clear coat will obscure the small imperfections. Even without the coating, the bumpers wil be fine from a few feet distant, and that’s good enough. The clear coat is another POR-15 product. I’ll be applying it to all polished metal areas of the car.
Rainy eyeball repairs
The weekend was rainy, on and off, so the bonnet was frequently hidden beneath plastic sheeting to protect the bare metal from the elements. I did do some repair to the right headlight area of the bonnet, though. In our enthusiasm to remove the dents, we were a bit overzealous, and we banged out a “dent” that was actually supposed to be there. On the side of the headlight hole that is toward the center of the bonnet, there is a crease that extends from the back of the bonnet to a point nearly two-thirds of the way down the headlight hole toward the front of the car. We flattened a good portion of that crease, and we discovered the asymmetry by running our hands on each side of the bonnet.
Fortunately, the left headlight area is in very good shape, untouched by collision damage. It provided the details of the correct shape, and a few pictures on the web really helped (notably some of the closeups in the “workshop” area of Classic Jaguar’s site).
That small repair pretty much characterizes what lies ahead for us on the bonnet. It’s a matter of getting the details as right as we can. It is this kind of work that makes the body repair so slow and tedious, but this kind of work is also something that can’t be hurried along or ignored. The details are exceptionally visible.
So, a weekend means repair of a little part of a headlight. Scary to think how many hours might go by working on this important part of the car!
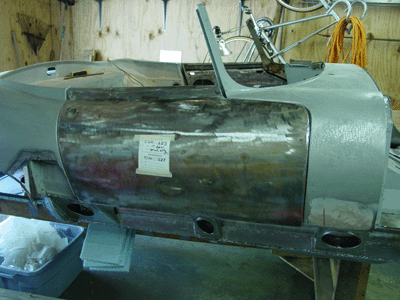 process: 1. Remove the window crank and the door latch handle by pushing the escutcheon away from the handle and pushing the lock pin through the hole. Remove the door panel 2. Remove the lower door hole access plates by drilling out the pop rivets that hold them in place. Scrape off the rubbery weather seal with a knife. 3. Remove the hardware attaching the chrome window rails from the top section of the door and from the two tabs inside the panel assembly at the bottom of the door. 4. Slide the window rails out through the top of the door carefully. 5. Remove the bolts and screws that affix the latch mechanism and the window crank mechanism to the door panel assembly. 6. Carefully pull the window glass through the top of the door and, after the glass is completely free, remove the window crank mechanism. You will have to adjust the crank mechanism to pull the glass free without binding the mechanism in the door panel assembly. 7. Remove the bolts that hold the exterior door latch handle. This is done inside the door panel. Then unclip the door latch mechanism from the inside of the latch handle. 8. Remove the handle from the outside of the door and then the latch assembly through the access holes in the door panel assembly. (You can remove the anti-drum material any time you can get a hold of it.)
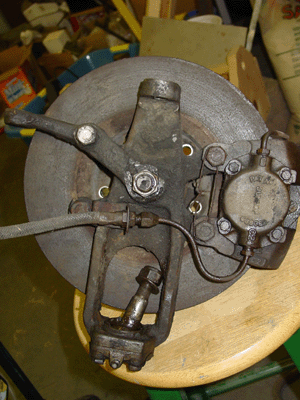 the wheel bearings. We were able to get much of the assembly apart, but I decided to bring the tough-to-disassemble parts into a local British automobile dealership and service shop. They had the tools and the experience with the items to take them apart completely, and I didn’t have to puzzle over it.
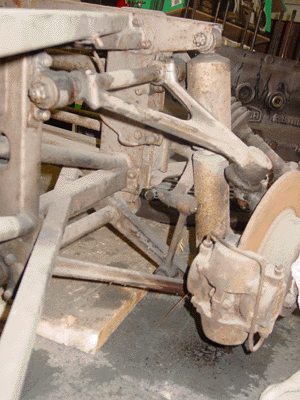 the front suspension and steering mechanisms intact. The entire structure needs to be completely taken apart so that the steering, the suspension assemblies and the three-part frame itself can be thoroughly cleaned and, as the case may be, renewed.
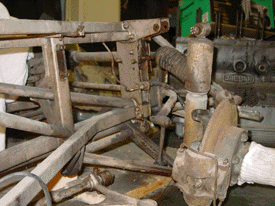 I had to remove the upper shock absorber fastener in order to gain access to it. This fitting had three very stubborn bolts that took a great deal of penetrating fluid and many taps on the wrench to remove. I was careful not to be too free with my hammer, since replacing these pieces could be a real challenge. All the hardware is grade 8, however. And so, it is quite tough. The bolts themselves look untouched by the forty-some years they’ve sat. I’m guessing the a coating of paint may just have given them some extra life.
 floor sealed by the end of the week.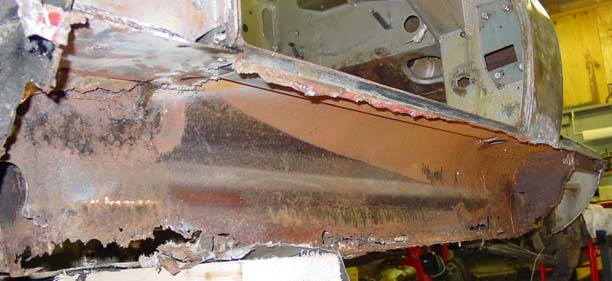
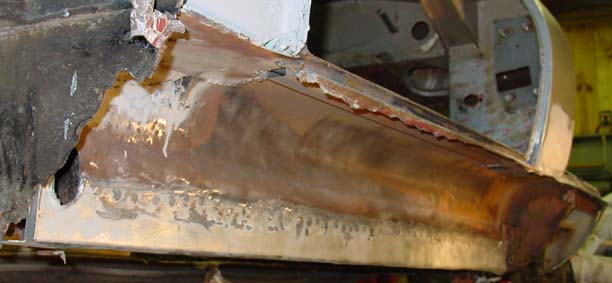
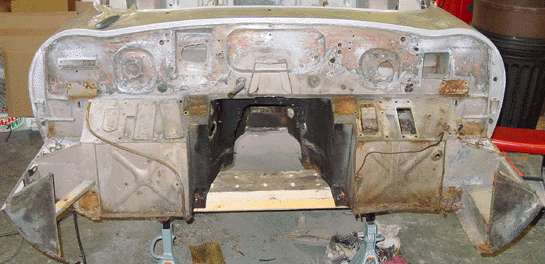
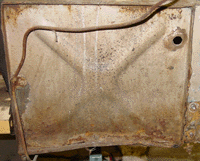 Thus, the directions get reversed. You always refer to the sides of the car as though you were in the car seat, looking forward.) The piece was bent on the bottom, and corrosion had significantly weakened the metal up a little less than an inch. The picture clearly shows the bend, and some rust is visible, though much of the rust is surface rust and not a concern.
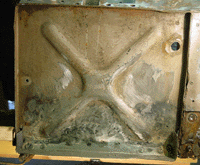 of the footwell with spot welds and lap welds. This lower section has a tab that angles out from the front, and it is part of the way that the floors are attached. As we did with the left inner sill, we used 18-gauge steel to fashion the pieces. It’s not too tough to cut, but it is stiff and resists the bending. To make it easier to grab and bend, I made the tab about three-quarters of an inch big. Although the final product doesn’t need that big an angled tab, we can cut or grind off the excess after the floor panel is in place, too.
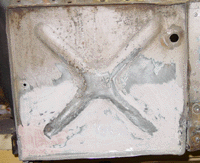 and start doing everything with bondo.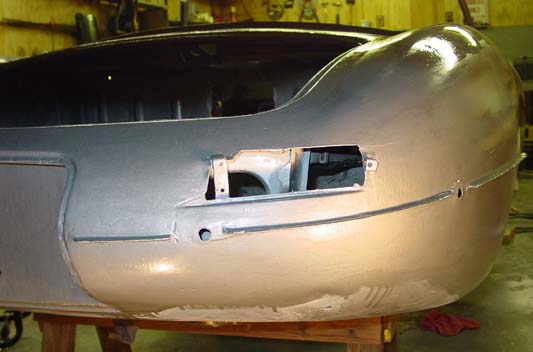
 version of the product, evidently. I do not believe that the Jaguar I have “needs additional strength” but I figured that some additional metal wouldn’t be that bad after all. The trouble with the “silver” product seems to be that it is harder to apply. It dries to a less than smooth surface, so you have a bit more work to do in smoothing everything out. In the case of this restoration, I wasn’t too worried about smoothness, since I have some work yet to do on the body, so reinforcement sounded good.
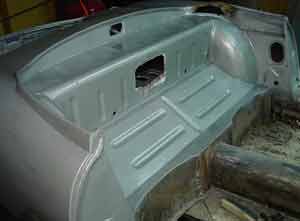 The lower section of the top part of the bulkhead cover — that is, the area where the outer sill meets the body panel — I have left alone. I am concentrating on the upper sections of the body, since it will be easier to do the lower “hemisphere” of the body when I have flipped the body over. I will do the body work in the lower section after the outer sill on this side is installed (and on the other, most probably).
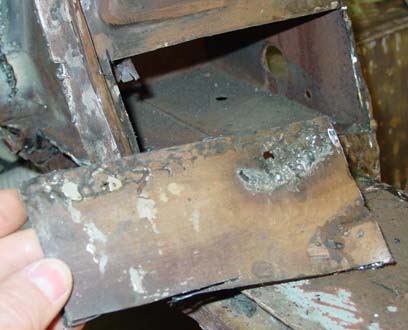 the outside of the “B”-pillar actually had some structural impact. Unfortunately, the way to obscure the fix was to apply bondo, and so the structural repair was apparent in a large lump of bondo about five centimeters from the base of the pillar, just under the door striker.
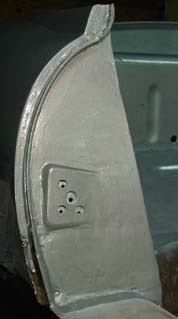 Then we measured the hole carefully, cut it out, and welded it into place. The tabs themselves were spot welded, and then along the perimeter we used a regular old butt weld.
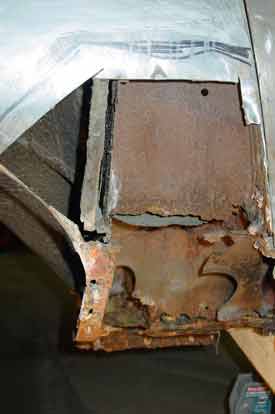 (Play Sand is the stuff suburbanites use to fill their kids’ molded plastic sandboxes.) Play Sand might be a little less fastidiously dried and screened, but it’s pretty similar to regular old blasting sand. Overall the sandblasting was most successful with parts that you could easily handle, such as fittings and small pipes that were taken from the frame. The blasting was less efficient on the body itself, even though the body paint was fairly removable. There was simply so much acreage to blast!
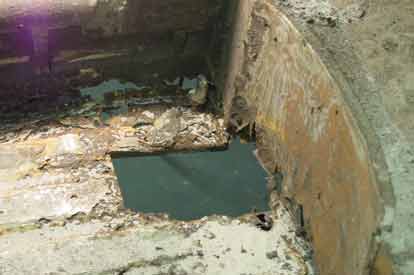 The lower section of the rear bulkhead — the section immediately behind the right side seat — also need replacing. This section apparently was under some significant corrosion pressure, since a stabilizing bar from the rear suspension was the only part the we actually had to cut out because of rust fusing the bolts to the body. The picture below shows this section of the interior, with the rear bulkhead plainly visible and the rear portion of the inner sill showing some significant corrosion. The rectangular hole in the floor panel was cut out to remove the rear suspension.
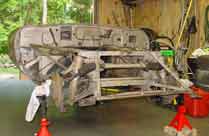 the D-type, which won the Le Mans in the late fifties. That car was of tube construction. The E-type we are familiar with is partially tube construction (the area in front of the “bulkhead” which begins in front of the dash) and partially structural sheet metal construction (everything else behind the dash). This is an enormously strong construct.
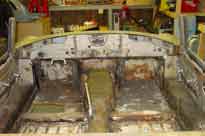 The outer sills got rusty, so they were replaced. The trouble was that the areas behind the outer sills and internal to the sill structure overall were (probably) ignored. Because the inner sills lay behind coverings of the interior or were less easily accessible, they were ignored. In short, the trouble is there, but it’s harder to see and harder to repair. Deterioration of the inner sills became apparent after we removed the interior trim — the carpeting (such as it was) and the felt padding. Rust damage was especially bad in the front left foot well inner sill. It’s not clear in my mind whether the entire inner sill on the left side will need replacing. I am now thinking that it will not, though repair is required. The final verdict will be clear after sandblasting.
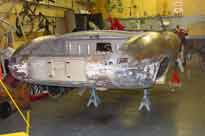 were rusted through and repaired with bondo. We’ll fashion a metal replacement, of course. Other rust damage in the rear was related to the deterioration of the sill: the rear quarter panel on both sides were bondo-ed — perhaps the most shameful of the early repairs, since the bondo hides a multitude of sins. The areas immediately behind that bondo were in bad need to replacement. We will tear that bondo out (as we will do with all the bondo) and probably open up the rear quarter panel in that section. This will allow us to replace the internal structure.
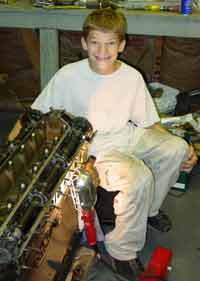 cutter. We had trouble loosening the top two timing chain sprockets, but we circumvented that by removing the cam shafts. The cam shafts look quite good, and their bearings look practically new. The valves show some normal wear and tear, but none is compromised with a blow hole. Pistons are blackened, but everything moves nicely in the cylinders. We haven’t removed the oil pan to look at the connecting rods and the crank shaft.
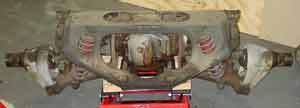 could wrestle enough room to remove it. (This was one of two big black spiders we ran into.) It dropped like a charm. Read the shop manual instructions carefully to get the details on easy removal.