This entry begins the third year of restoration work on the old car.
Clearcoat and boot lid installation
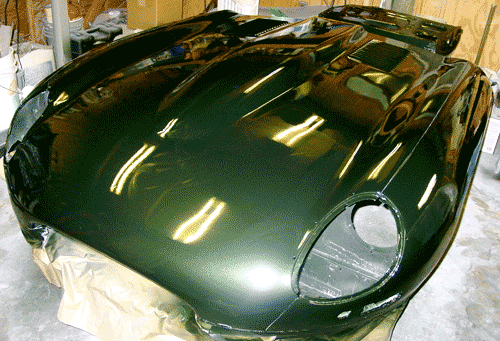
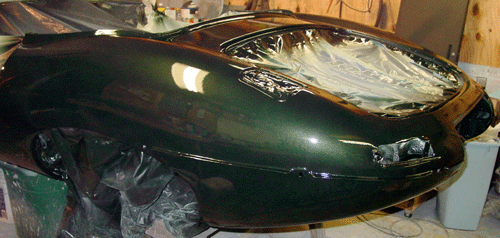
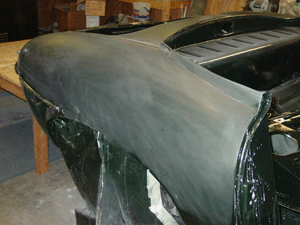
The car body was completely sanded smooth with 800 grit sandpaper, and ripples and “orange peel” areas were smoothed out. The surface was then degreased and coated with another double coat of clearcoat. This final clear coat will undergo the “color sanding” process 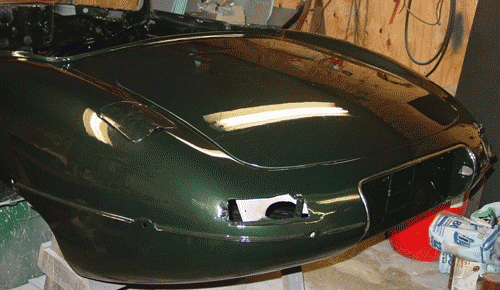 and then finally be buffed to a fine shine.
We painted and clear coated the door exteriors and the trunk (boot) lid, too. The boot hinges were painted some weeks ago, and they had been awaiting reassembly. I had a number of boot hinge springs that had broken, and I replaced those with new ones using a modification of the methods that have been described by George Cohn (on the Jag Lovers forum) and Classic Jaguar. They are good descriptions and entirely predictable, in that there aren’t very many ways to do the job. One thing I did do that wasn’t listed in the directions was grease between the individual springs. Although the springs don’t do an incredible amount of rubbing, I did notice evidence of wear on my old springs (which were not greased). I figured that adding a smattering of grease probably would alleviate a little friction over time, though at the expense of introducing grease into a storage area. I suspect that the original springs were not greased simply because Jaguar drivers didn’t really want luggage and storables stained with grease. And that would be a hazard of greasing boot lid hinge springs.
The E-type is not a remarkably wondrous vehicle for transporting much other than two passengers, so I wasn’t going to worry about an occasional grease stain.
Once you install the hinges and attach the lid, you almost have to install the latching mechanism. E-types have a release fitted on the rear bulkhead in the car’s interior. There was no lock on the early Series I cars — that was introduced, I believe, with the late 3.8 liter cars or with the introduction of the 4.2 liter engine. On my car, you just pull the knob and the lid pops up. As far as I can tell, there isn’t an easy way to release the trunk lid if the cable attached to the knob and the latching mechanism fails. You’re basically stuck, or you have to be very adept with needlenose pliers stuck through the holes for mounting the rear license plate.
My latch required little more than a good cleanup and a little black paint. The part of the latch that attaches to the lid itself was in exceptional shape, with the cadmium plate in fine polish. After all, it was protected from the elements and had been painted body color at some time.
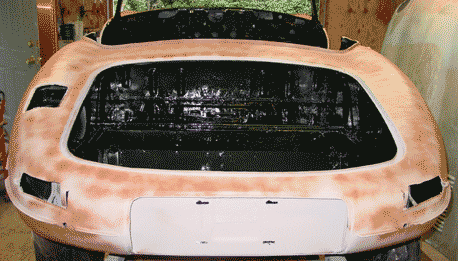
Once the latch was fitted, the trunk could close and reveal some of the fine shape of the E-type. I couldn’t help myself — I had to attach the chrome surrounds for the license plate recess, just to get a little better picture of the rear. The doors, you might note, also are temporarily hung in place. I needed to get them out of the way, and the body shell seemed a good place to store them!
Steering wheel
Most car restoration, it seems to me, involves some form of rubbing. You can’t get away from it, even after having put in your time rubbing and sanding the body before and after painting. Even the steering wheel took its toll on my elbows, or at least required a bit of attention from my cloth polishing wheel and some compound.
 |
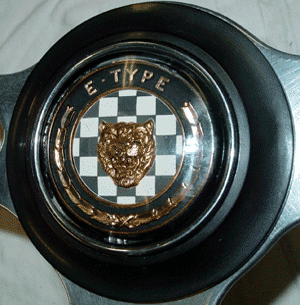 |
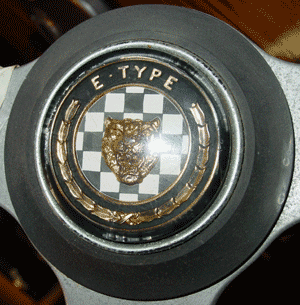
The horn button comes off of the steering wheel by loosening three set screws. Once these are loosened, the horn button comes right off. Dissasembling the steering wheel from the “boss” (the aluminum cylinder that attaches the wheel to the column) means drilling out aluminum rivets. I do not plan on re-riveting the wheel to the boss, so I’m replacing them with screws and bolts. (This is a very common practice, I have learned.)
All of the aluminum on this car has some severe aluminum oxide corrosion, and the steering wheel seemed especially to suffer from it. I used 800-grit sandpaper to remove the bulk of the corrosion, and then I used a cloth buffing wheel with coarse grit to get the remainder cleaned. A single attack on the aluminum portions of the wheel was not enough. I had to go at the whole thing again with 800-grit sandpaper and buffing before things were in shape. Thet pictures of the horn button, by the way, show the wheel in mid-restoration, not final. I’ll update with other pictures, probably when things move along with the steering column and dash assemblies.
The steering wheel itself had some fairly severe cracks, and for the most part the varnish had deteriorated to the point that it had completely flaked off. I was thankful for the residues that remained, but it wasn’t entirely clear at the outset whether the wood sections  of the steering wheel would be salvagable. At least the wood was very nearly complete — though a splinter of wood about four or five inches long and about an eighth-inch wide was missing between about 10 and 12 o’clock on the wheel perimeter. In this section, the aluminum steering wheel substrate was exposed. That section I chose to fill with “mahogany” wood filler, and the jury’s still out on what it will look like completely refinished. (I’ll post a picture when I get the polyurethane applied completely.)
For the crack repair, I used an approach that was suggested on the Jag Lover’s Forum: using cyanoacrylate filler to bond and fill steering wheel cracks. It worked nicely, and I just used the glue that I found at Lowes. Unlike the “Super-Glue” adhesive, this stuff was thicker than the watery stuff I’d used before as a cement. It flowed well enough into cracks, but it did bead up after I reapplied it to an already filled crack. The watery “Super-Glue” would just have spread. Because the adhesive bonds very quickly, I clamped the crack as tightly as I could before applying the glue. Even when the crack virtually disappeared under pressure of the clamps, the glue found and soaked into the crack quite easily. Because cyanoacrylates use hydroxyl ions (in water) to begin bonding, I used my breath to add moisture to the wheel before clamping a crack and applying the glue.
Sounds a little weird, but it works. (Arlene and my daughter thought it was strange for me to blow into the steering wheel.)
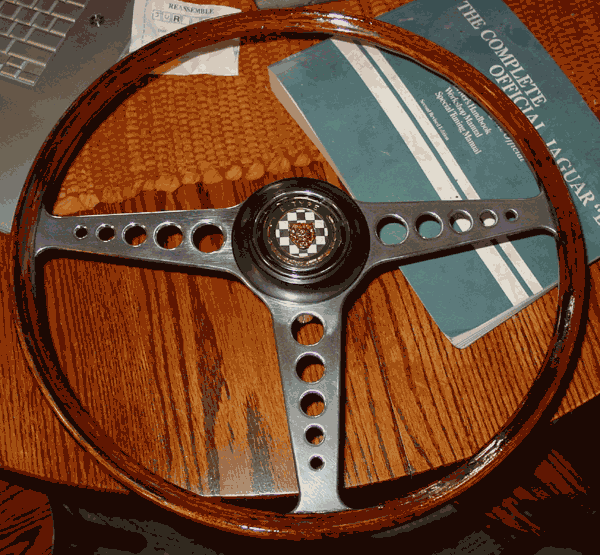
Cyanoacrylate is exceptionally tough stuff. It quickly soaked into the cracked wood and bonded. The areas that built up some glue were devilishly hard to sand down. After the sanding, I applied a coat of clear polyurethane, followed by light sanding and a reapplication of polyurethane. As of this writing, I’ve applied three coats of polyurethane in this fashion, and I believe that one more will be required. I’ve inserted a picture of the entire steering wheel, with the horn button laid in place. (Since it’s a large picture, I lowered the color palette, and that makes things look a little botchy.) The aluminum still needs a little work (already started, to judge from the scratches that are visible), and the wood needs sanding and another coat. By the way, the void that I had to fill is on the reverse side of the wheel, thank goodness.
Steering column and indicator switch
The steering column lacked a couple of items, and the indicator light switch was faulty. Beyond that, the indicator switch lever was badly corroded; what was originally chrome had become little more than a rusty stick with flakes of chrome loosely hanging on it. 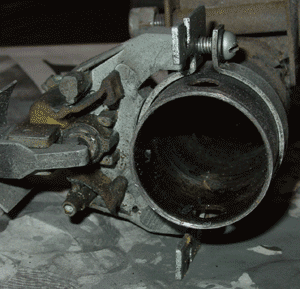 The larger picture shows the indicator switch — such as it was — on the steering column. It’s attached with a bracket setup that wraps around
 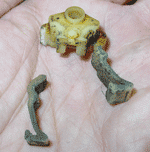 the outer tube of the column. The old switch clicked into place for left turns, but the right turns would not hold, making it necessary to hold the switch in place. The trouble was the nylon fitting that was cracked on the side that affected the right. We completely disassembled the switch and discovered some pretty badly burnt points and worn plastic (Bakelite?) housings. In short, the indicator switch is pretty much junk. It’ll be entirely replaced.
The steering column consists of two major parts: an outer tube and the shaft. The shaft is held in place by two bushes, one at the top of the tube and the other at the bottom. The bushes are available in felt or plastic. I went with the plastic versions, in spite of the fact that the originals were felt. The felt bushes are sandwiched by washers and held in place by a wire circlip that snaps into holes on the top and bottom sides of the outer tube. The plastic arrangement is much simpler, since the plastic ring simply snaps into place in the holes. (The holes for the upper bush are visible in the picture on the left.) The two bushes have unequal inner dimensions. The lower bush is smaller than the upper one, since the shaft tapers in stepwise fashion from top to bottom.
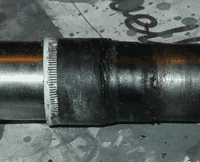 When we picked up the car, the steering column shaft was noticably shaky in the tube. This was because a previous owner didn’t bother to replace the felt bushes but instead rigged up a plastic arrangement. This “bush” was mounted centrally on the column (a great pivot, of course), fashioned from a plastic bottle cap, and affixed with electrical tape. In order to reduce drag, I suppose, the entire shaft was smeared with grease. It is actually amazing that the shaft didn’t bind firmly in the tube, because the electrical tape easily unravelled.
I took pictures of the plastic replacement bushes, but (alas) they are stuck on my digital camera. The dongle has disappeared from the household, and of course no one has any idea where it is. When it reappears (soon, I hope), I’ll post a photo of the bushes.
‘Til then….
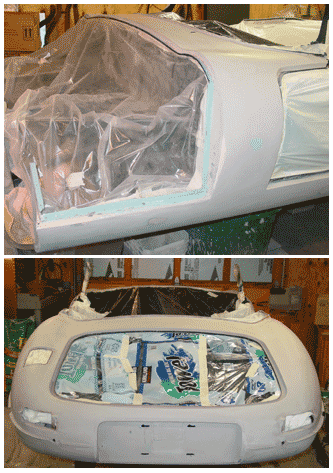 In July, I sprayed the final coat of high-build primer, and then I pretty much let it sit. The only preparation was sanding the wings lightly with a flexible styrofoam sanding board and them paying much more attention to the sills. I used the long sanding board on the sills, and this final prime/block-sanding took out the last of the ripples.
 leave them on too long. I will admit that I have run into very old dried masking tape that’s been a bear to get off without damaging the underlying paint.
 the primed surface with clean water, which I then dried with lint-free towels. This left the surface without any dusty primer residues from sanding. Next I used a “liquid deglosser/degreaser” that I have seen remove oils and grease quite effectively. I picked it up at Lowe’s so it is not anything special — just a typical brand. The degreaser is quite volatile, so it evaporates quickly. Then, after about an hour or so wait, on goes the sealer. The process is the same as
  troubles before we finished the job.
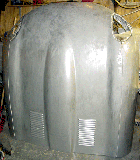 They were unfortunately not visible at the time we set the bonnet on the sawhorses.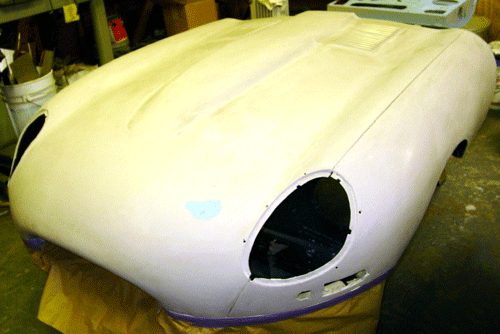
 It was, I suppose, rather uneventful, except for the fact that it meant that the car was closer than ever to supporting itself on four wheels. For that matter it was closer to the ground than it had been for over a year — on
 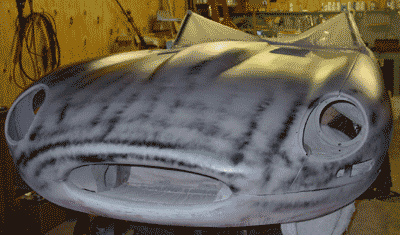 that would get some attention from the sanding block.
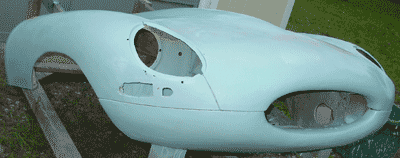
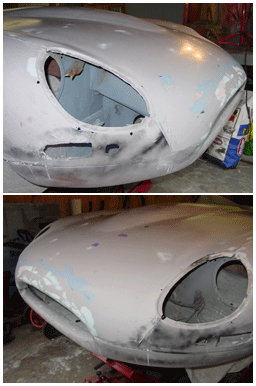 nose pictures you can see several shades: spots of exposed metal are dark, a pinkish color is body filler used after hammering out the metal, light blue (almost white) is “Easy Sand,” sky blue is “Tie-Coat” primer and the grey is the two-part high-build primer. I put three small pieces of purple masking tape on an area of concern: a gentle dip on the left side of the “performance bulge.” This place will get a little extra high-build when I next spray it. This is a barely perceptible dip that I think can be eliminated without too much of a buildup of primer, especially since the area surrounding it has been brought down with block sanding.
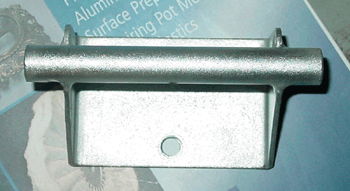
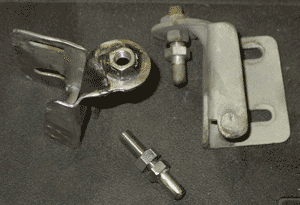 bad impact to the right front side of the car at some point. My guess is that the peg was either ripped off at that time or the bracket and the peg were severely bent and they eventually weakened and fell off, or were simply torn off to get them out of the way. Blame a previous owner. I could have located a replacement, but I decided to repair the original with a washer and some deft welding and grinding. I also fashioned a new peg that is very close to the peg on the intact left side latch bracket. I am now thinking that I will plate the pegs with zinc and paint the brackets with a metal/aluminum paint. The pegs will need to have a durable, abrasion-resistant coating.
 But I could not do the blocking over the channels as I had hoped. The structure itself was too fluid and loose, and so it was apparent that I had to fit the bonnet internals more permanently in order to work with the outer lines of the bonnet.
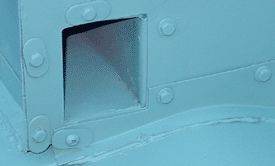 that it was better to fashion new flanges than to try to fill the gap, so to speak, with adhesive. Apparently using an excess of adhesive is common practice, but I think it would look tacky and probably not be as stable as customized — and (I know) non-standard — flanges. So we put the last bits of the 20-gauge steel to use. (Historical note: Aaron and I fashioned the new flanges, but we also used one welded up by John Boutin when he and his family visited us back during Thanksgiving vacation 2003. He wanted to try his hand at welding and that was his project. The flange now sits in the forward right position, holding the right side duct nearest the bonnet mouth.)
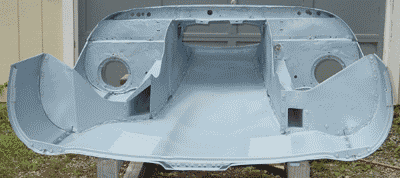 Mike Moore, a two-time Jag E-type restorer in California, gave me particulars about getting the Sikaflex adhesive that is “original” for the E-type bonnet. Mike says it is very good stuff. Nonetheless, I decided to go with a polyurethane adhesive, since I had read in a post from Dan Mooney (of Classic Jaguar) that a good polyurethane adhesive would do the trick. Besides, I could obtain that nearby.
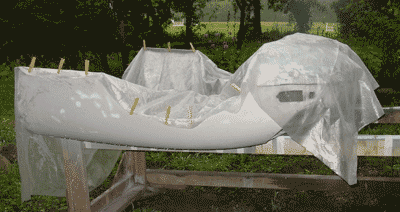
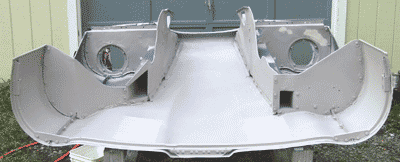 we have really needed the rain). That is to say: moving forth with the bonnet while it’s perched (and covered) outside has been a little hit-or-miss. I’ve been reluctant to paint when rain threatens, of course. Priming has been a bet with the weather, but by the end of the month the bonnet internals got a coating
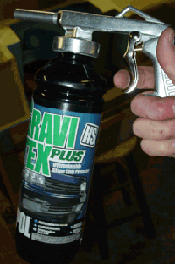
 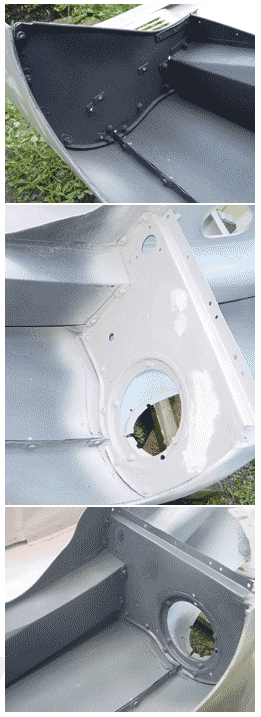 of “Tie-Coat” primer and the two-part high-build primer. Also, the front wheel wells were coated with rock guard. Inadvertently, the rock guard ended up a two stage process, in part because our Internet connection went out after a power outage and I couldn’t consult the well illustrated “FAQ” on applying “underseal” that is posted on
  bad about it. I manufactured a completely bogus 1963 North Carolina license plate with some old Plexiglass, a handful of modelling clay, some plaster of Paris, Bondo (the cheap kind), and some paints found in the garage. The process was simple: Using the plexiglas as a base, I fashioned the raised letters and numbers with the modelling clay, making the side bevels a bit more gradual than the eventual product. This allowed for some material for shaping. After applying a bit of dishwasher soap and water to the Plexiglas and clay plate, I poured plaster of Paris over the plate. This made a mold. After the mold had set, I applied Bondo to the mold, and embedded a piece of wire screen for strength — an entirely good “blodger” practice. I had to break the plaster apart to remove it from the Bondo, in spite of the soapy lubricant. Final shaping was with sandpaper.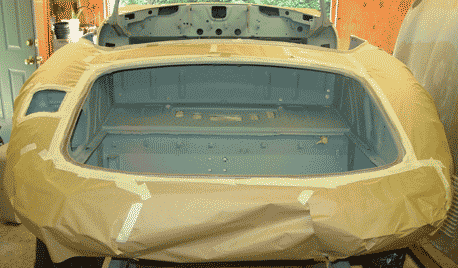
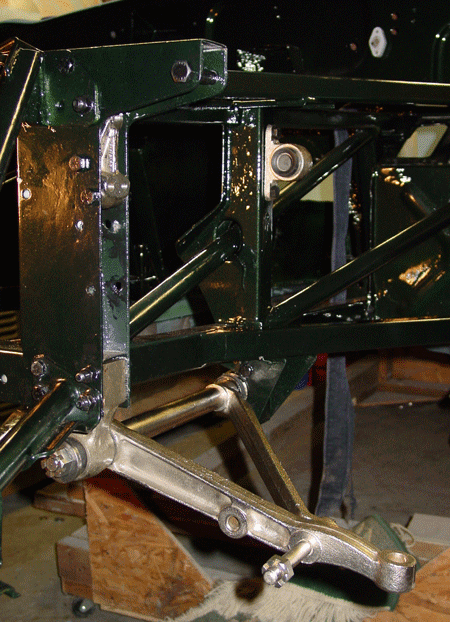 I thought about calling this section “Sproing!” because of the trouble I have had with the upper wishbone “circlips” (also known as “snap fasteners” or “internal retainers”). I got new upper and lower ball joints/ball pins for the wishbones, and the upper kits were supposed to have included internal retainers. And one kit did, but the other replaced the internal retainer with an external retainer, which of course wouldn’t work at all. I fetched the old part that I removed that had the internal retainer and I figured I was set.
 roots. The initial spray appears later in this page.
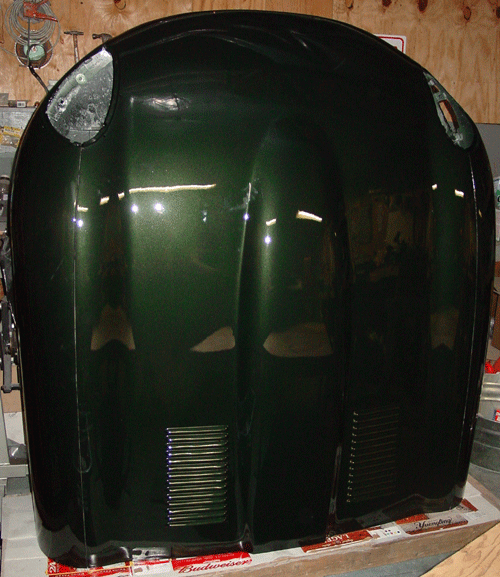
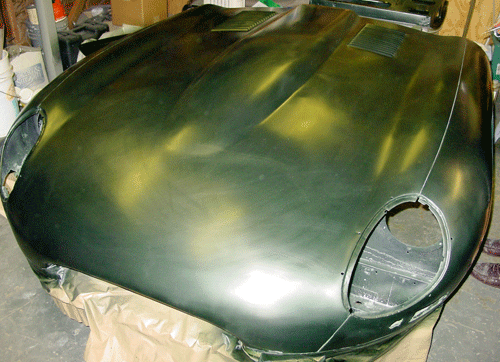
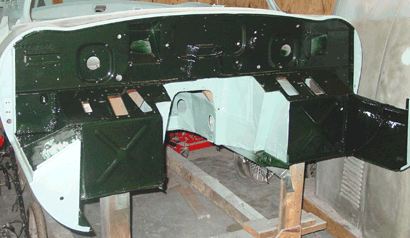 out that 77RW was Opalescent Dark Green, too. I mentioned that I didn’t like the color of a Opalescent Dark Green car I’d seen on the Classic Jaguar website, but I noticed as well that photography of the color varied enormously. You can’t get a picture of what the color “really” is, since that is part of the charm of an opalescent/metallic paint. The dark green seems to play with light especially well, and it appears nearly black in some light and glimmeringly dark green in other light.
 in abundance this winter, you just want to hunker down and get through it. So I occupied my restoration time with things that were easy to do in short and less cold moments. Little things over a long period do add up. This is a two-part addition to the restoration journal. Welcome to part one….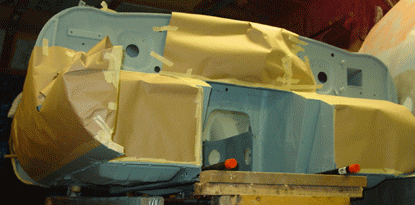
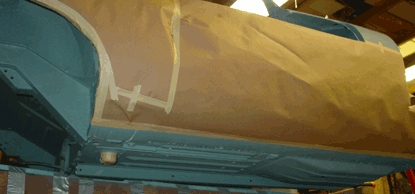
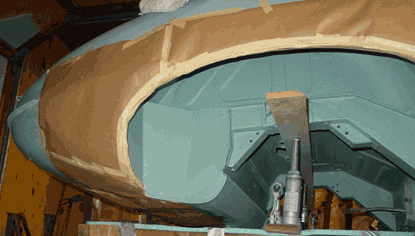
 I left the undercoating for a week or so before spraying a thin coat of primer over the surface. This may have been unnecessary, but auto paint folks suggested it for good sealing and for a uniform color beneath the paint.
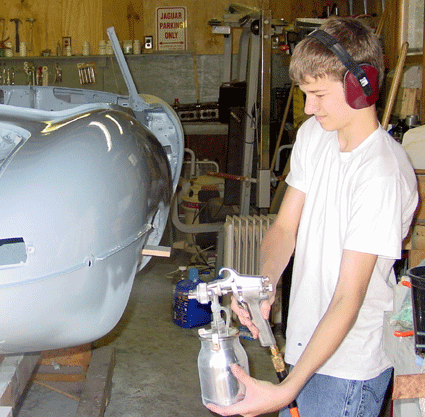 warm temperatures to open up the garage and spray the body shell with primer. The temperatures reached the mid-70s (Fahrenheit, 20+ Celsius), and so short sleeves did it, as you can see from the picture of Aaron spraying the right rear quarter panel. As everything was open and the fan was blowing, we didn’t use face masks, which probably weren’t necessary in this case. But we did wear ear protection because the compressor is so loud. In retrospect, I believe we should have worn our respirators, too.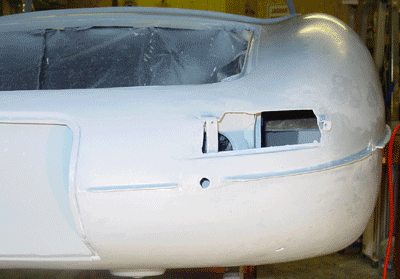
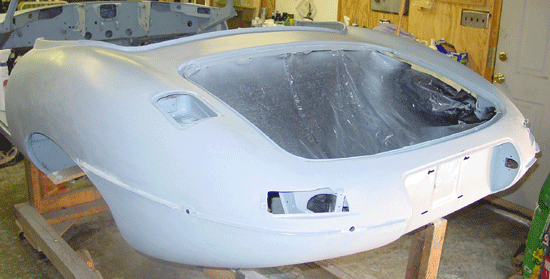
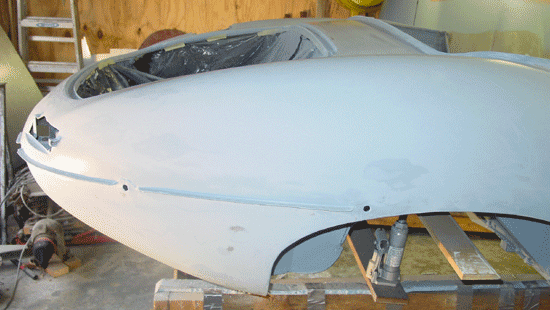
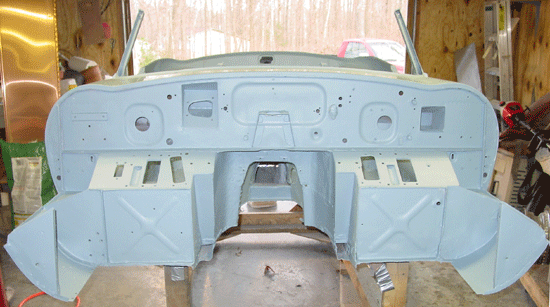
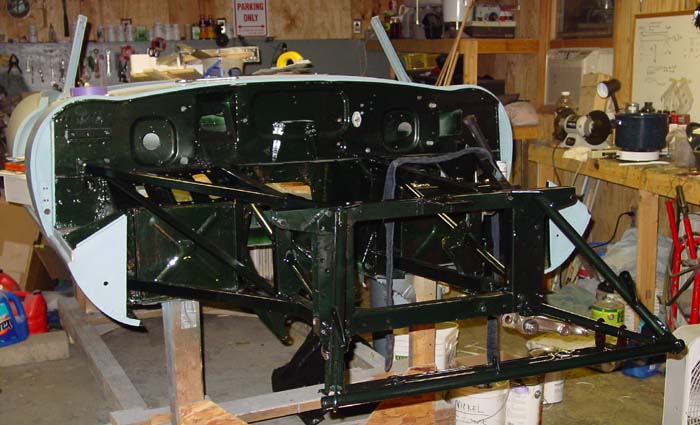
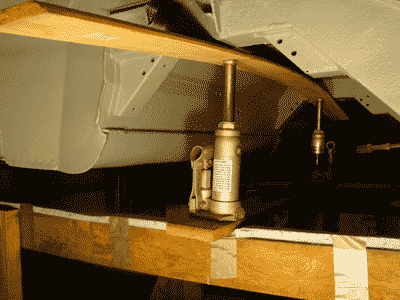 garage has been nice and warm, and I have been able to do some more priming in shirt sleeves. As a result, the entire exterior and the body shell underside is primed. (Actually, there are small portions of the underside that need some primer — the front portion of the footwells that sit on the crude frame I made to hold the body.)
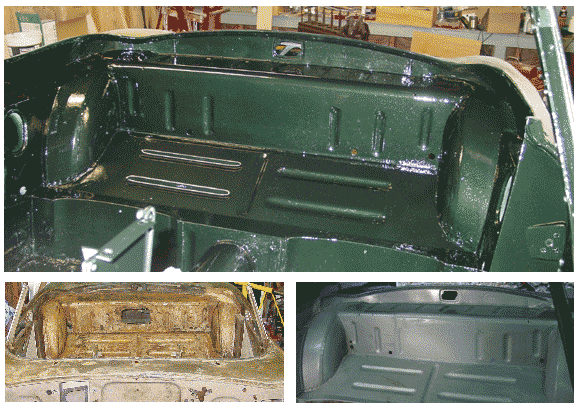
 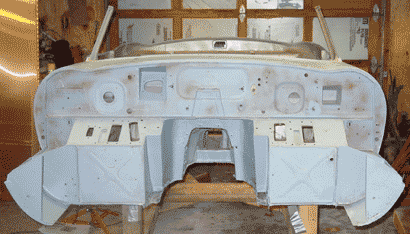 Anyway, the jacking opened up most of the space along the beams and all of the trunk floor for priming. As I mentioned, only the front footwells still need priming. So, after I’m done with the trunk floor, I’ll get those primed. I figure that I’ll get the “Rock Schutz” rocker guard on the edge of the trunk before I lower it, though.
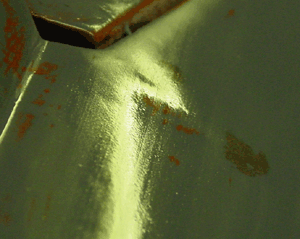 Detecting the dent — Why light is your friend
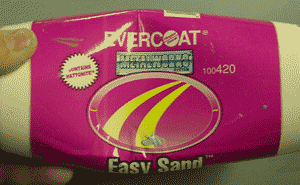 The filler I’ve used for this final work is “Easy Sand” by Evercoat. Bill McKenna mentions it on his ’63 E-type FHC restoration website, and I found it at the local auto parts and body shop supply. The chain automotive stores, around here at least, don’t have it in stock. It is very good stuff. The filler comes in a tube-like bottle (see the picture), so dispensing it is easy and creates no mess at all. Like other fillers, Easy Sand is a two-part product, so it should be durable. The filler itself is very fine and goes on very smoothly — it’s more a cream than a putty. The manufacturers say it bonds well to metal, plastic, and primers.
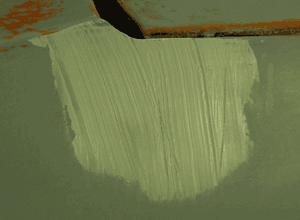 I’ve always doubted whether the stuff would stick to primer, so I’ve ended up sanding right to the metal again. Also other fillers often sand badly when they are adjacent to buildable primer. The stuff usually is slightly harder than the primer, and so you have to be careful about outlining your filled area with a low spot in the primer. (Good blocking usually makes this less likely, though.) The Easy Sand product blocks very nicely.
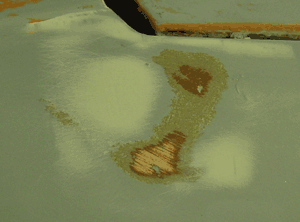 Block the area after the filler has cured. The area should be noticably better, though it might have a few imperfections. I noticed on this repair that I missed a small tap dent that I created while tapping down one of the high spots. It was not a particularly big dent, so I figured that the buildable primer would take care of it You can see the effect of the 60-grit sandpaper on the area. The two original high spots have merged to become one elongated spot, now flat from sanding. Flanking low spots have been filled with the filler. There isn’t very much filler left in the area, which is as it should be.
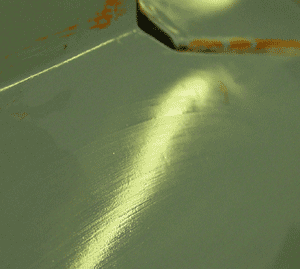 After the filler is blocked, it’s time to reprime the area. I use a paint brush to apply the primer, and that works quite well in small areas like this. After the primer is dry, block it again. This should bring the area to where you need it to be. I did this small repair after the second primer coat was blocked, and the problem was apparent. (This door has been a real job, and this little fix was nothing compared to the rest of the smoothing that was required. The big work was the result of many minor ripples all over the mid section of the door. That work was tedious mainly because getting the lines straight was complicated by the large surface area.) Any imperfections in the primed surface of the repair will get a at least one more going over before the surface is ready for color. I check the light line of the repaired area to see where it needs more attention. As you can see in the bottom picture, it’s in pretty decent shape, though it has some slight indentation yet. This will be taken care of in the next round of primer coat and blocking.
 much new to report, though I will post some photographs after the Christmas Holiday week. I’m taking most of the week off, and perhaps warmer temperatures will be a nice Christmas gift to us this year. One thing that is needing some handling is a high spot on the right door. I’ll document the handling of that little detail, since there is a little difference in body correction at this stage in the game, that is, during the final points of priming and preparation for “spraying color.”