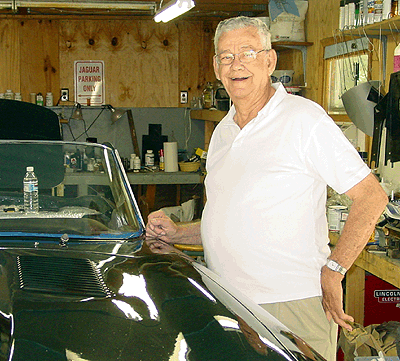
Winter has been mild in North Carolina, though cold enough in the deep winter months to keep me out of the garage. March usually is the transition month — a month of teasing warmth and, when cold, a month of yearning for spring. This March has been warm. So warm, in fact, that this weekend I opened the front door of the garage to let air and sun in. This is what the car looked like on 11 March, just before the left door handle was put into place.
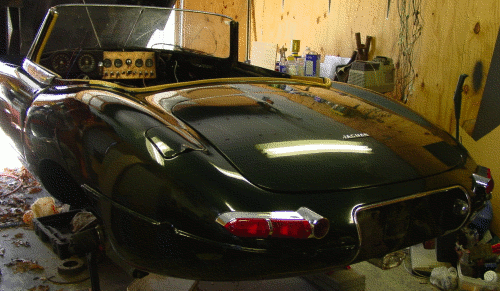
Please excuse the mess. Winter blows leaves through the cracks beneath a side door, but the rest of the disarray is my fault. I am always amazed to see pictures of other fellows’ neat and tidy workspaces. I’ve never been that organized, and I have kids who use the garage and the tools as well.
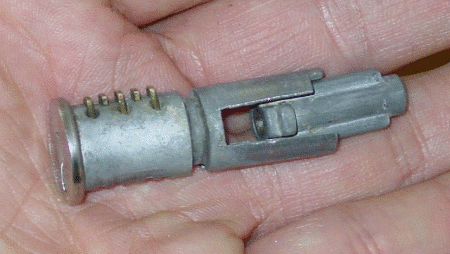
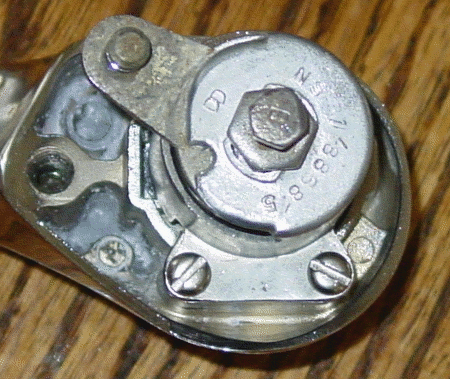
This entry might be a little too detailed for most folks, but I found that I spent an inordinate amount of time just figuring out how the door lock/latch mechanism works. I initially thought that some parts had been pilfered, since there seemed to be too much “air” in the middle of the section covered by the can-like “retaining case.” There is a plunger-like piece that slides freely in the rear section of the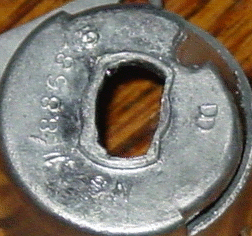 tumbler piece, and it slides freely when the car is locked, and is held in place when unlocked, so that the plunger is forced out the back end of the retaining case to activate the latch mechanism in the door.
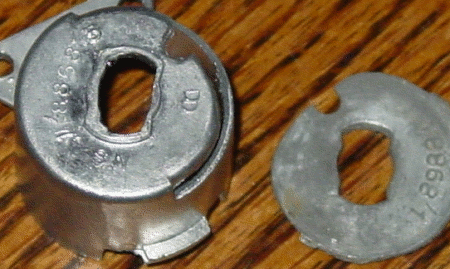
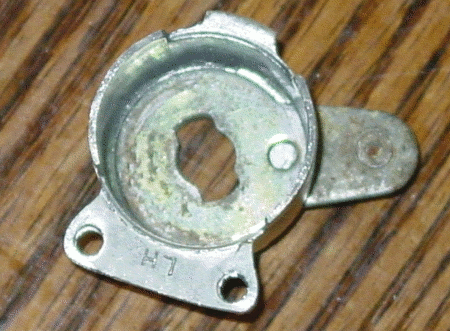
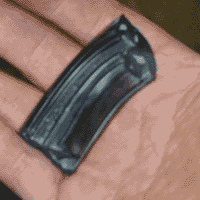
I got a new retaining case from XKs Unlimited. The cases are sided, and so this one fits only the left side. (A tab is labeled “LH” for “left hand.”) The retaining case frequently will fail at the rear end, as mine had. The part was virtually identical to the original, except for the fact that excess metal from the casting had not been trimmed off. This mainly was an issue for the hole at the rear (pictured). Ten minutes of sanding with some 220-grit sandpaper made everything clean and correct. Fit was not good on a small tab that slides into a slot on the door handle, but this was a matter of a little more sanding to bring the tab down to size.
Neither of these were big issues. It is, of course, much better to have too much metal than too little.
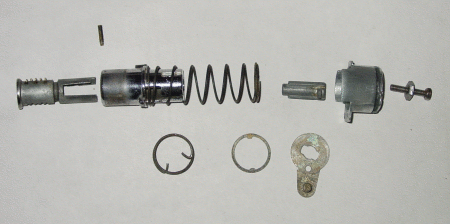
This lock and the one on the right side door had apparently been lubricated with oils and perhaps a little grease. They were both caked with grime. I took everything apart and soaked everything in kerosene (aka “paraffin”) and scrubbed with an old toothbrush. This is the usual drill I go through with parts, as I don’t have a fancy parts washer. I’ve decided to use a dry graphite lubricant on the locks.
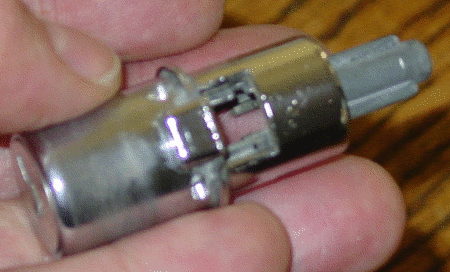
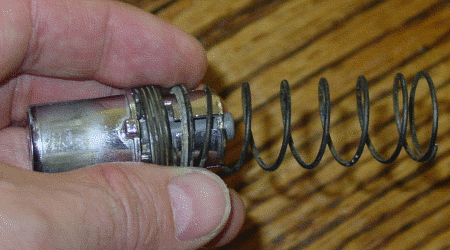
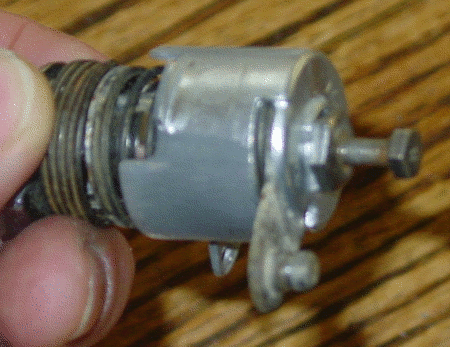
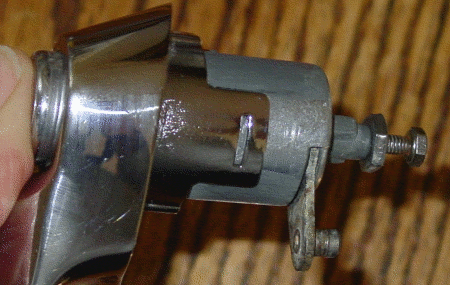
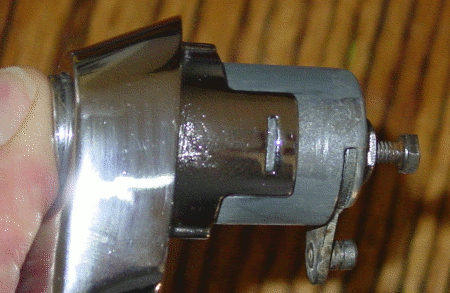
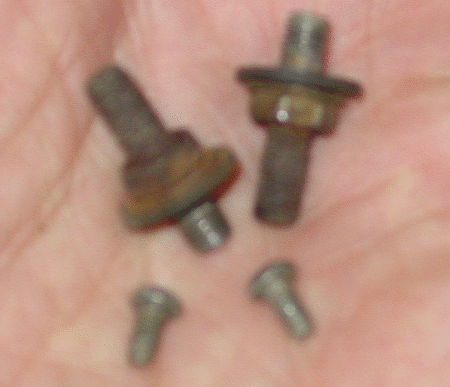
For the most part, the pictures to the right and their “tooltip” captions, which you get when you mouse-over the pictures, tell the story in excruciating detail. The pictures themselves are probably the most useful of the explanations. Nothing in the disassembly or reassembly requires any special tools, just a needlenose pliers, a couple of screw drivers, and a fairly strong couple of fingers. The springs are not tremendously hard to compress, so you can easily squeeze the parts with one hand.
How the mechanism works perhaps becomes apparent from the pictures. The important piece that manages the locking is the small linkage piece that slips into the slot at the rear of the retaining clip. When the door is locked, this part offsets the plunger inside the tumbler and allows the plunger to slip between the fork-like sides of that section of the lock tumbler. The seventh picture from the top shows this linkage piece in place; the ninth and tenth pictures show the plunger functioning in unlocked and locked settings.
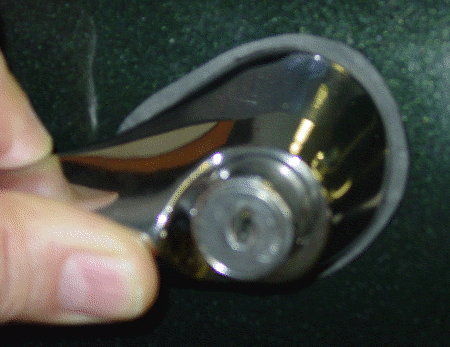
One thing I did that might be an addition, though a small one, was to place rubber seals between the door handle and the two points it touches the body. I don’t have any record of a seal in that position when we disassembled the car, but that doesn’t mean that the original cars wouldn’t have had seals. I cut mine out of rubber from a car inner tube. Worked nicely.
I’ve finished installing the chrome I got back from Ricardo.
More than you ever wanted to know about locking mechanisms
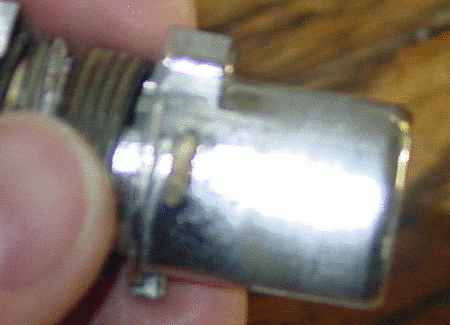
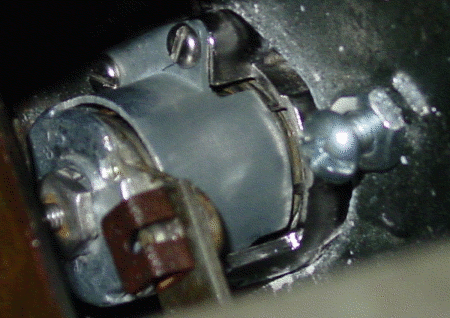
The picture is a bit out-of-focus, but the brass pin is shown extending from the hole into which it slides. When you take your lock apart, this hole will likely be obscured by the general gunk of the part. After cleaning, the purpose of the hole is clear. This was an easy slide into place, just a couple of taps did it.


<b><b>
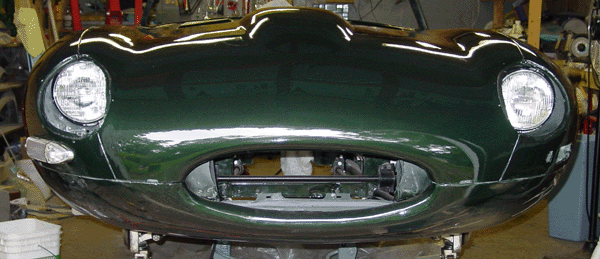
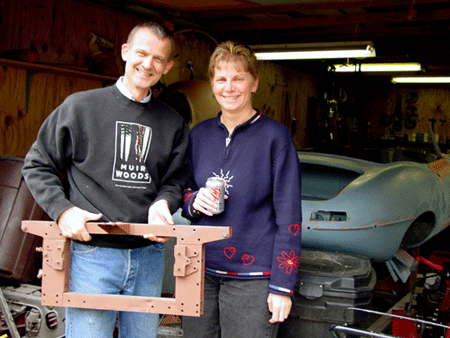 much new to report, though I will post some photographs after the Christmas Holiday week. I’m taking most of the week off, and perhaps warmer temperatures will be a nice Christmas gift to us this year. One thing that is needing some handling is a high spot on the right door. I’ll document the handling of that little detail, since there is a little difference in body correction at this stage in the game, that is, during the final points of priming and preparation for “spraying color.”
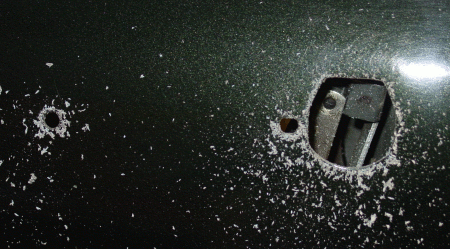
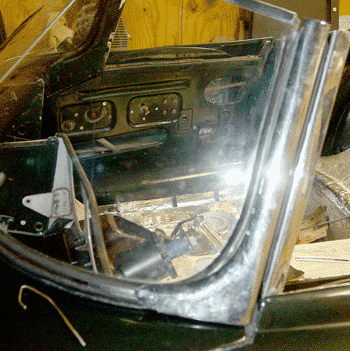
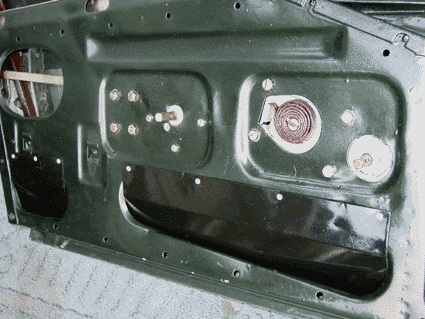
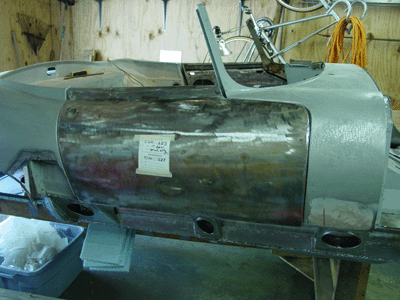 process: 1. Remove the window crank and the door latch handle by pushing the escutcheon away from the handle and pushing the lock pin through the hole. Remove the door panel 2. Remove the lower door hole access plates by drilling out the pop rivets that hold them in place. Scrape off the rubbery weather seal with a knife. 3. Remove the hardware attaching the chrome window rails from the top section of the door and from the two tabs inside the panel assembly at the bottom of the door. 4. Slide the window rails out through the top of the door carefully. 5. Remove the bolts and screws that affix the latch mechanism and the window crank mechanism to the door panel assembly. 6. Carefully pull the window glass through the top of the door and, after the glass is completely free, remove the window crank mechanism. You will have to adjust the crank mechanism to pull the glass free without binding the mechanism in the door panel assembly. 7. Remove the bolts that hold the exterior door latch handle. This is done inside the door panel. Then unclip the door latch mechanism from the inside of the latch handle. 8. Remove the handle from the outside of the door and then the latch assembly through the access holes in the door panel assembly. (You can remove the anti-drum material any time you can get a hold of it.)
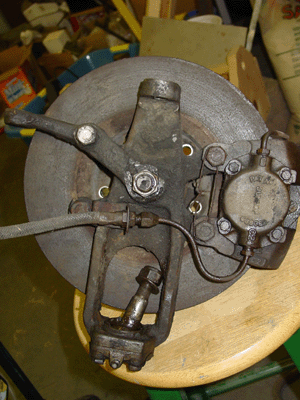 the wheel bearings. We were able to get much of the assembly apart, but I decided to bring the tough-to-disassemble parts into a local British automobile dealership and service shop. They had the tools and the experience with the items to take them apart completely, and I didn’t have to puzzle over it.
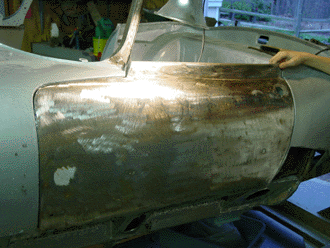 itself. The “skin” of the left door looks quite good. The lower section where the internal box-like door body attaches to the external metal sheet was a little rusted, with a few small corrosion holes poking through. But the metal resisted pressure all right, and we will go ahead and repair the corrosion from the inside of the door. I suspect that the doors corrode in that section because of the weird way that moisture is handled. Water that spills from the body on top of the door falls through a small drain hole, and that drain hole spills into a rubber hose that diverts the water around the internal section of the door hinge attachment inside the door panel. But the strange thing to me was that the hose simply dumps water into the door panel. I would have thought that the hose would have diverted the water all the way through the door to an external hole. As it was originally designed, the water flows into the door panel and then out through two slits on the bottom of the door. The effect is that water can easily collect inside the door panel, and may even be retained by the anti-drum material fitted inside of the door. This material looks like a rubberized felt, but it seems to be still somewhat absorbent. I will probably just replace the hose as I found it, but I have thought that maybe I should alter the door a bit to give the water flowing in a more direct way out. The interior of the door panel will at least be well rust-proofed, so the next generation can renew the door skins if they need to.