Update: November 12 — It hardly seems worth an additional web page, so I didn’t add yet more pictures of the same old blocking. The focus was on the left door, and I was committed to conquering its waves. The blocking took all of the working weekend, amounting, I would imagine to a good ten-to-twelve hours. I noticed on Bill McKenna’s website that he spent 25 hours on his left door, so I figure that my work is about in line with his. There’s still another coat of primer to go on it, and I don’t know how many hours I spent working on it before this past weekend. As Bill says somewhere on his web site, it’s a wonder that people can actually make money doing a decent restoration. The hours required — and from skilled people, too — are formidable.
Speaking of Bill, I bought a replacement left frame from him. It was good to see his paint job in real life, at least a small portion of it. I’ve not done anything with the frame yet. I figure that can wait until I have the car body primed.
Second Coat of Primer
The car was turned into a pumpkin for Halloween. After the second coat of Tie-Coat Primer was good and dry, I put on another guide coat of flat spray paint.  This time I found a half-can of hideous orange. It made the car look like a well ripened pumpkin — appropriate for the season.
 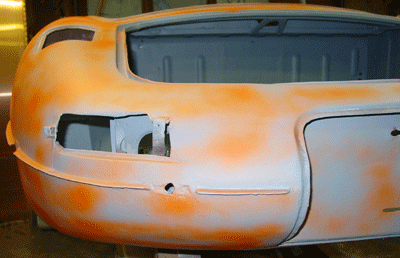 I took this picture after I happened to see where we were about a year ago. It turns out that we had just applied some POR-15 over the same area of the car after having removed paint. We were still pretty much in a tear-down and clean-up mode back in October-November 2002. It is good to see those old web pages, since it at least gives the impression of progress. Block-sanding tends to throttle that feeling, except of course when you tear into a bright orange marker coat!
It’s probably worth remembering that the point of doing multiple coats of high-build primer isn’t so much to coat the surface evenly with a thick coat. It’s really intended to allow you to even out low areas and obscure high areas, though of these two, I think that high areas are problematic. So in effect, you end up sanding most of the high-build primer off of the car. You leave a reasonable amount of primer on to assure a good bond of the topcoat to the surface. The temptation 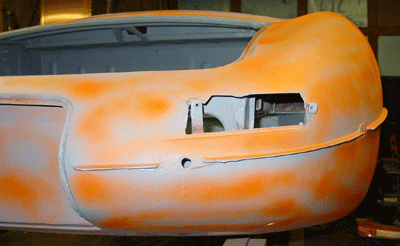 is to block the car a bit too little, leaving more than is needed to prepare the surface.
I get the feeling that this is really an art. And I also realize that good body work is worth the money people spend for it. It is labor-intensive and experience does count. (Too bad I have so very little experience!)
The second coat pretty clearly tells me that you really can’t spray the final primer coat and expect things to turn out all right. Despite my care while brushing the second primer coat, blocking it was complicated by the fact of the brush strokes. I found myself reblocking sections that had slight ripples from brush strokes, and I believe those areas would have been flat and ready for paint without the brushing. As a matter of fact, I think first coats are fine to brush, but probably not second coats.
For this priming of the car body, I will complete a second coat and second round of blocking the parts of the body that appear “from the curb” — the external sections of the body shell and the bonnet. The internal sections of these parts will get a single brushed primer coat and blocking. This includes the trunk (or boot), the firewall (or front bulkhead), the interior of the car, and the inside of the bonnet. I will probably spray color in the trunk, the interior, and the inside of the bonnet at that point. After all of this is done, I will spray a final coat of Tie-Coat Primer as smoothly as possible over sections of the car that are not already sprayed with color, followed by final blocking of those surfaces.
Of course, I could spray color on everything at once, though I am thinking that I’ll still have to spray color on the bonnet in at least two sessions, since I want to coat the inside of the bonnet thoroughly. This really means that the inside shell without the internal panels will need a separate spray session. The inside panels and the front valance (the lower “mouth” section) can also be painted separately. Once everything is together, another coat of color is in order.
Once again, the bonnet seems the complication.
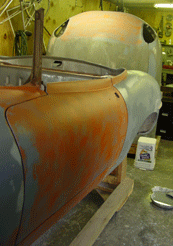
I avoided doing the doors until I feel confident that I have a few more blocking tricks in my repertoire. I applied a bit more primer to a couple of low areas on the rear wings, and blocked them nicely into shape. Perhaps that tactic might help should I run into some irregularlities on the doors. I think that the doors are challenging because they don’t have the curves of the wings and the rest of the body. They are almost a pure tubular shape, and it seems difficult to get them just right. I also primed the trunk lid.
A couple of closing shots show where the blocking stands at the end of the weekend.
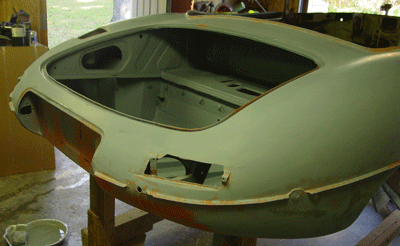
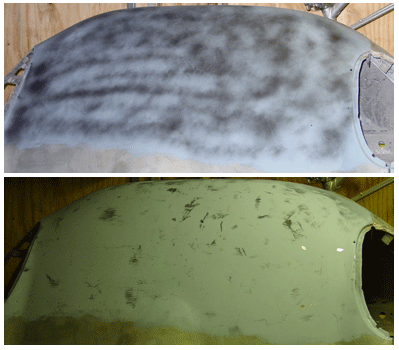 its purpose. Well, I didn’t use a typical sprayed “high-build” primer, though I used a “sandable/buildable primer.” The coating is “Tie-Coat Primer” that I needed to use to bond coatings to POR-15. POR-15 is very tough, and it has properties that make it tough to get regular primers to bond to it. Basically, you have to sand the surface rough in order to get primers or paints to stick to it. Or, you use Tie-Coat Primer.
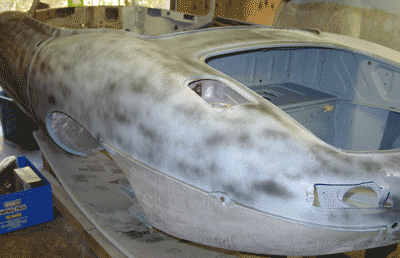 After that coat set, I sprayed a dusting of the flat black paint as a marker coating. I made sure that the primer itself had set before I did any block-sanding. (Tie-Coat is supposed to accept topcoats after no less than 24 hours after application.) Since temperatures had been below 60 degrees Fahrenheit (about 15 Celsius), I gave the primer about 48 hours before I tried blocking.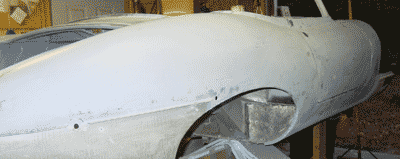
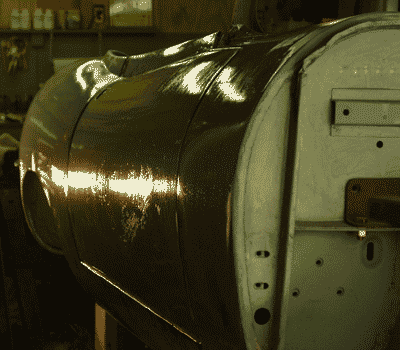 You’ll need to keep the block quite wet, too. The primer soon turns into a gooey lubricant if you don’t rinse it off. I used warm water with just a few drops of dishwashing soap. The soap seemed to help keep the sandpaper clear, and yet there wasn’t so much in the water that soapy film became a problem. An old cake pan worked great as a container. Wipe the blocked surface with a wet cloth to get the sanded primer out of the way.
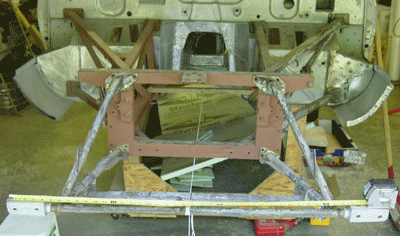 which probably sustained some accident damage. (My initial observations, including a description of the way the damage was “repaired” or at least hidden, appear in a
 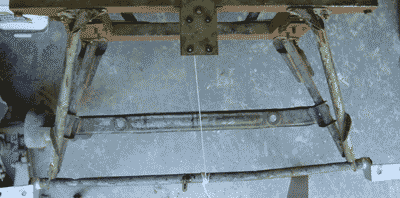 holes that are designed and intended to be used to make minor adjustments to the fit. But this catalogue is a good reference to have on the shelf. Terry’s Jaguar Parts has a good reputation as a parts supplier. They’ll send you a catalogue if you ask.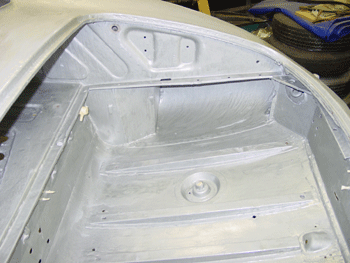
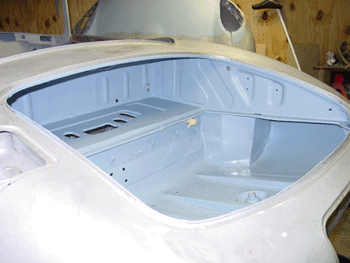
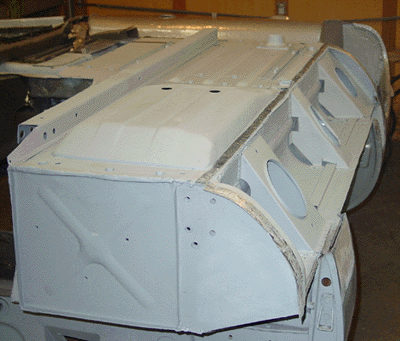 I do wish we were done with metalwork on the “tub” — the car body. We haven’t touched the bonnet, we’ve done very little with the doors and the trunk lid, and the engine and other mechanicals are practically untouched.
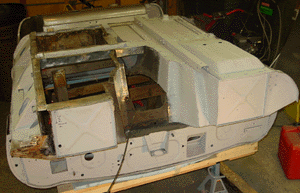 any) given to the body was no longer needed, so we cut it free and removed the vestiges of the left floor. This freed up the otherwise inaccessible space behind the interior rear bulkhead and the part of the bulkhead that faces the independent rear suspension (IRS) — a void of about 3-4 centimeters wide running laterally across the car. I vacuumed the dust and dirt that had accumulated, brushed off what I could, and Rustoleum primed the entire inside of the void. I really wonder why the car was designed to have this inaccessible area, since once the floor panels are on, you can’t rustproof or paint anything in the void.
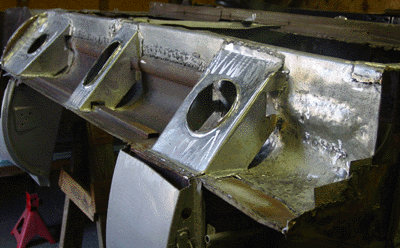 and used it to fashion the piece. The stiffeners were made from 20-gauge steel, and I fashioned the middle stiffener from the design I used for the middle stiffener done for the right sill. The secret is to be generous in your measurements for the tabs that you use to weld to the sill. It is easy to cut metal away, but not so easy to add it.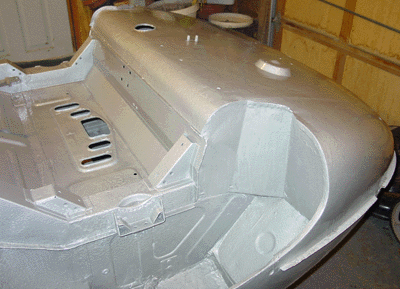
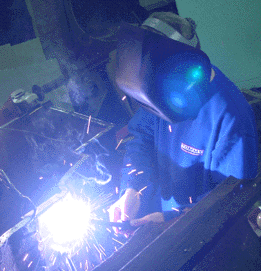 transmission bell housing. It’s not particularly clear what exactly required such invasive and destructive work to be done. I was thinking that perhaps there was simple laziness at the root of it. For typical adjustments, the E-type has adequate portholes going into the transmission area. But perhaps this was starter work? A clutch job (unlikely, I think)? We shall probably never know.
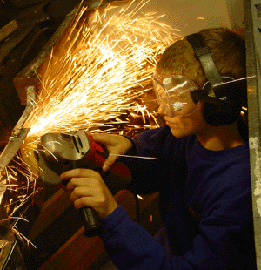 Anyway, I fashioned a replacement piece for the front engine/transmission housing wall out of 18-gauge steel, and I cut out the damaged piece from the transmission cowel. That piece we replaced with another piece of 18-gauge steel. Aaron did the welding and the grinding.
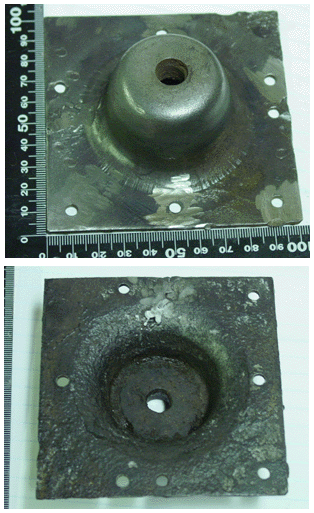 the existing cups and one of them was corroded beyond repair. I ordered a replacement for it. The other one still lingers in my mind as a repairable piece or as a replacement piece. We did go ahead and repair the cup that still has structural integrity, though questions remain because of the threading in the center of the coupling. They are not exactly well defined. I could, perhaps, go ahead and retap the threads with some success. At this point, we are going to wait until the new part arrives (sometimes after the Thanksgiving Holiday, I was told) and then we’ll make a decision about the replacement. I definitely do not want to install a restored part that will fail after a few thousand miles!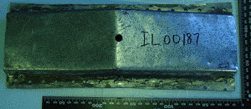
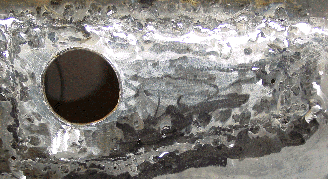 the paint from the inside of the trunk. The fix entailed cutting out the corrosion and the entire fuel filter cup hole, even though the rust damage was isolated to one side of the hole. I figured it would be easier to create an entire hole than it would be to try to fashion a piece and attach it flawlessly to the “good” metal of the original hole. Once again, this was a matter of exactly fashioning a replacement piece, welding tabs to the hole, and welding the new piece onto the tabs.
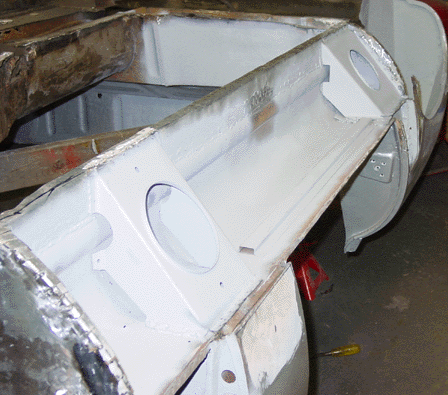 more than brackets that fit below the door frames — below the “B”-pillar in the rear and below the structure that holds the door hinges. They turn the (roughly) square sill into two triangles, and that’s why they are so good at stiffening the sills. I was thinking about putting a third sill stiffener in between the front and rear stiffeners, but after I got them in, it seemed as though there really wasn’t that much room between the stiffeners. At least not much to worry about. (I have seen a third stiffener installed by some restorers. They use a modified front stiffener.)
 After I installed the floors I was hoping to be able to install the “radius arm mount cups” — little fittings that hold the arms that come front from the independent rear suspension. But, the mounting cups need to be put into place before the floor goes on. Some of the holes intended for hardware are not accessible after the floor is fitted, since they are then entombed in the rear bulkhead. So I have to get at least one new mounting cup, possibly two. The mounting cup that we removed from the right side was damaged by the cutting tool, and it was at any rate pretty badly damaged by rust.