Update: November 12 — It hardly seems worth an additional web page, so I didn’t add yet more pictures of the same old blocking. The focus was on the left door, and I was committed to conquering its waves. The blocking took all of the working weekend, amounting, I would imagine to a good ten-to-twelve hours. I noticed on Bill McKenna’s website that he spent 25 hours on his left door, so I figure that my work is about in line with his. There’s still another coat of primer to go on it, and I don’t know how many hours I spent working on it before this past weekend. As Bill says somewhere on his web site, it’s a wonder that people can actually make money doing a decent restoration. The hours required — and from skilled people, too — are formidable.
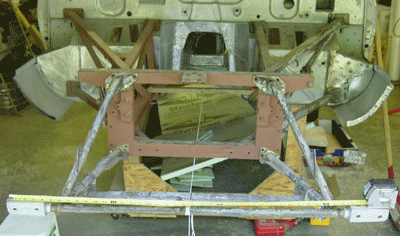
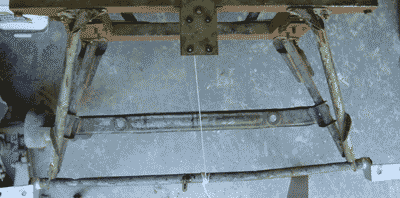
Speaking of Bill, I bought a replacement left frame from him. It was good to see his paint job in real life, at least a small portion of it. I’ve not done anything with the frame yet. I figure that can wait until I have the car body primed.
Second Coat of Primer
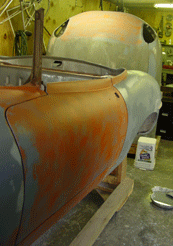
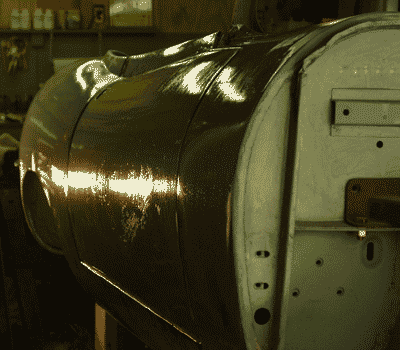
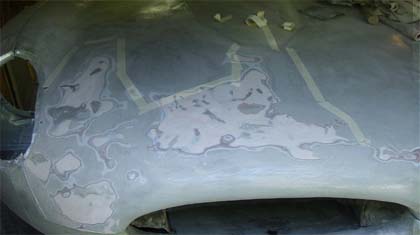
The car was turned into a pumpkin for Halloween. After the second coat of Tie-Coat Primer was good and dry, I put on another guide coat of flat spray paint.  This time I found a half-can of hideous orange. It made the car look like a well ripened pumpkin — appropriate for the season.
 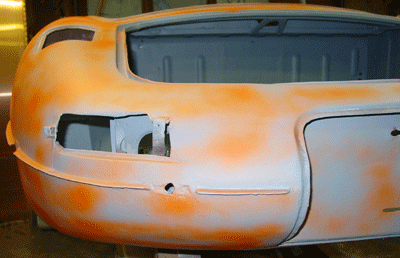 I took this picture after I happened to see where we were about a year ago. It turns out that we had just applied some POR-15 over the same area of the car after having removed paint. We were still pretty much in a tear-down and clean-up mode back in October-November 2002. It is good to see those old web pages, since it at least gives the impression of progress. Block-sanding tends to throttle that feeling, except of course when you tear into a bright orange marker coat!
It’s probably worth remembering that the point of doing multiple coats of high-build primer isn’t so much to coat the surface evenly with a thick coat. It’s really intended to allow you to even out low areas and obscure high areas, though of these two, I think that high areas are problematic. So in effect, you end up sanding most of the high-build primer off of the car. You leave a reasonable amount of primer on to assure a good bond of the topcoat to the surface. The temptation 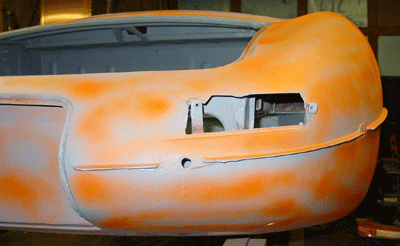 is to block the car a bit too little, leaving more than is needed to prepare the surface.
I get the feeling that this is really an art. And I also realize that good body work is worth the money people spend for it. It is labor-intensive and experience does count. (Too bad I have so very little experience!)
The second coat pretty clearly tells me that you really can’t spray the final primer coat and expect things to turn out all right. Despite my care while brushing the second primer coat, blocking it was complicated by the fact of the brush strokes. I found myself reblocking sections that had slight ripples from brush strokes, and I believe those areas would have been flat and ready for paint without the brushing. As a matter of fact, I think first coats are fine to brush, but probably not second coats.
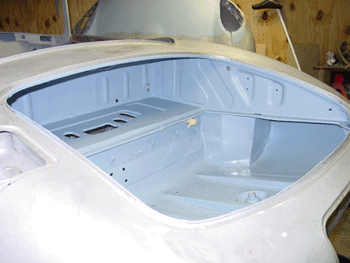
For this priming of the car body, I will complete a second coat and second round of blocking the parts of the body that appear “from the curb” — the external sections of the body shell and the bonnet. The internal sections of these parts will get a single brushed primer coat and blocking. This includes the trunk (or boot), the firewall (or front bulkhead), the interior of the car, and the inside of the bonnet. I will probably spray color in the trunk, the interior, and the inside of the bonnet at that point. After all of this is done, I will spray a final coat of Tie-Coat Primer as smoothly as possible over sections of the car that are not already sprayed with color, followed by final blocking of those surfaces.
Of course, I could spray color on everything at once, though I am thinking that I’ll still have to spray color on the bonnet in at least two sessions, since I want to coat the inside of the bonnet thoroughly. This really means that the inside shell without the internal panels will need a separate spray session. The inside panels and the front valance (the lower “mouth” section) can also be painted separately. Once everything is together, another coat of color is in order.
Once again, the bonnet seems the complication.
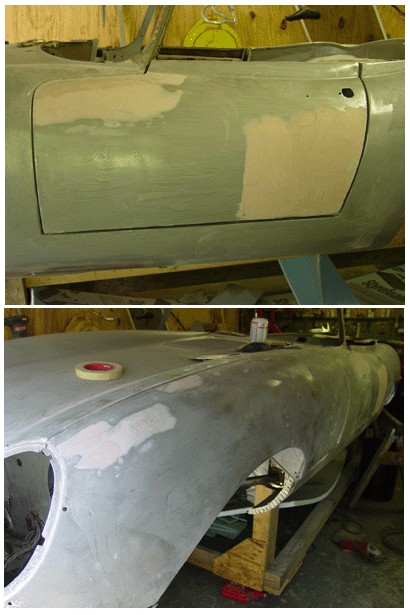
I avoided doing the doors until I feel confident that I have a few more blocking tricks in my repertoire. I applied a bit more primer to a couple of low areas on the rear wings, and blocked them nicely into shape. Perhaps that tactic might help should I run into some irregularlities on the doors. I think that the doors are challenging because they don’t have the curves of the wings and the rest of the body. They are almost a pure tubular shape, and it seems difficult to get them just right. I also primed the trunk lid.
A couple of closing shots show where the blocking stands at the end of the weekend.
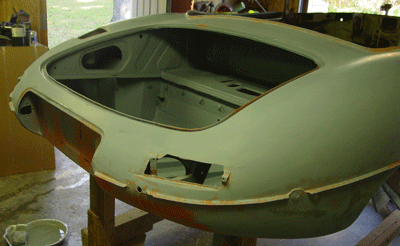
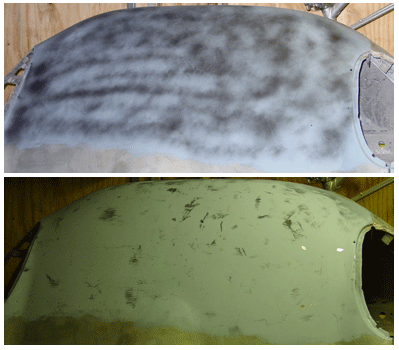 its purpose. Well, I didn’t use a typical sprayed “high-build” primer, though I used a “sandable/buildable primer.” The coating is “Tie-Coat Primer” that I needed to use to bond coatings to POR-15. POR-15 is very tough, and it has properties that make it tough to get regular primers to bond to it. Basically, you have to sand the surface rough in order to get primers or paints to stick to it. Or, you use Tie-Coat Primer.
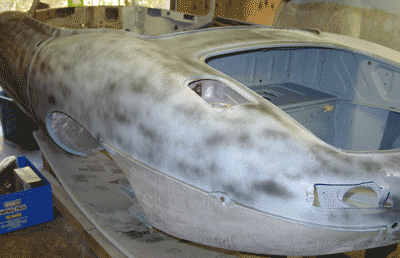 After that coat set, I sprayed a dusting of the flat black paint as a marker coating. I made sure that the primer itself had set before I did any block-sanding. (Tie-Coat is supposed to accept topcoats after no less than 24 hours after application.) Since temperatures had been below 60 degrees Fahrenheit (about 15 Celsius), I gave the primer about 48 hours before I tried blocking.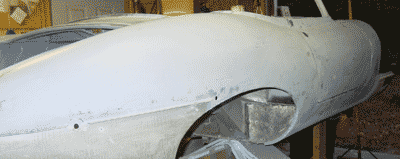
 You’ll need to keep the block quite wet, too. The primer soon turns into a gooey lubricant if you don’t rinse it off. I used warm water with just a few drops of dishwashing soap. The soap seemed to help keep the sandpaper clear, and yet there wasn’t so much in the water that soapy film became a problem. An old cake pan worked great as a container. Wipe the blocked surface with a wet cloth to get the sanded primer out of the way.
 which probably sustained some accident damage. (My initial observations, including a description of the way the damage was “repaired” or at least hidden, appear in a
  holes that are designed and intended to be used to make minor adjustments to the fit. But this catalogue is a good reference to have on the shelf. Terry’s Jaguar Parts has a good reputation as a parts supplier. They’ll send you a catalogue if you ask.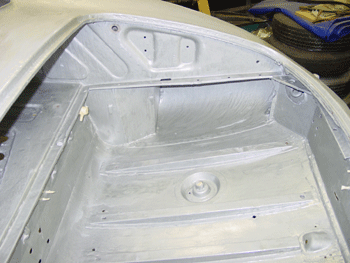
 POR-15. So, why block sand at this point, when spraying “high-build” primer at this point would actually make sanding much easier?
 the left side (which was, I should add, fairly preserved from collision damage) or felt higher than was to be expected. That side of the bonnet mouth and the section above the mouth was too round, giving the impression of looking “like a Dodge Ram,” as my wife put it.
 inconvenience at all. We had no water, of course, since the well pump uses electricity, but we had filled bathtubs and a few large containers with fresh water before the storm hit. And when the storm did hit, it provided some entertainment and very little terror. Actually, no terror at all — just some wondrously bending trees. We had some clean up after the fact, but this we were able to take care of in a day.
 of them all together, so that we can take a closer look at the crankshaft. I spoke with my dad on the telephone over the weekend about the crankshaft. He tried replenishing bearings on an old engine once before, and they gave way shortly afterward. If the crankshaft is not true — if it has miniscule flatnesses especially — the crankshaft eats up the new bearings in short order. So, I’m going to look around for a machine shop that can check the crankshaft in all of its places and, if need be, turn and otherwise repair it.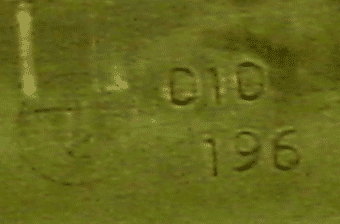
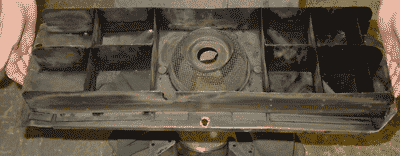
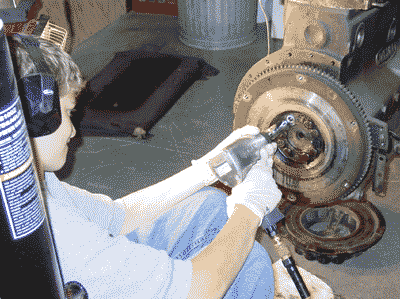 and was delighted that we could walk away with ours for under $40 USD. We hadn’t really explored the engine — like the removal of the oil pan to inspect the crankcase area — and the engine stand made this much more possible. Most engine stands connect to the engine by the bolts used to attach the bell housing at the rear end of the engine block. (I’m not sure exactly how new-fangled sideways engines are attached to their engine mounts. I assume that there is a wholly different breed of engine stands for such engines.)
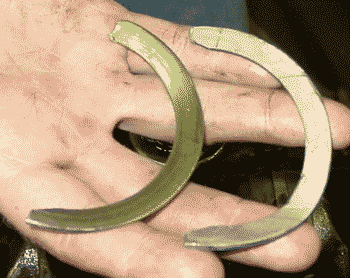 At this point we have not investigated the damage that may (or, we hope, may have not) been caused by the lack of thrust washers. They were a bit of a mystery at first, since they obviously were not crankshaft bearings and they gave the impression of being halves of a single large washer that was split. The thrust washers fit on both sides of the middle crankshaft support. I think they stabilize the crankshaft from forward and backward movement, though I don’t know how critical they are, since it would seem to me that most of the strain on the crankshaft would be vertical and horizontal — coming from the up and down motion of the pistons. A cursory look at the middle support and the surrounding fittings revealed no apparent damage. We’ll need to see about the wear in this area, just to see if the section is so large that the thrust washers won’t fit snugly.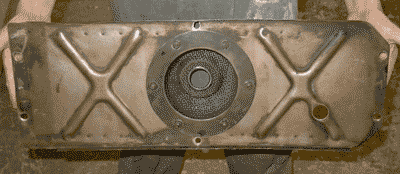
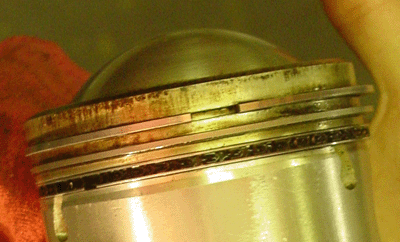
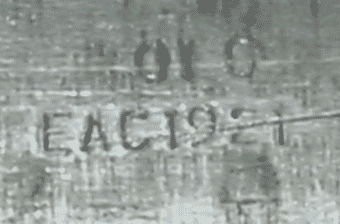
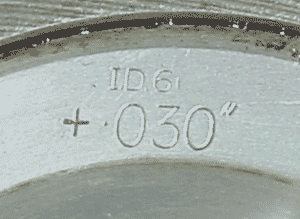
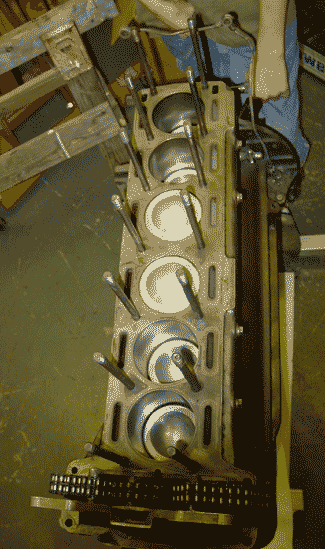 I suppose this wasn’t really necessary at this point, but it can do nothing but good to remove some of the collected grit from the cylinders and pistons. This cleaning had the benefit of allowing us to see markings on the pistons that show that these pistons are oversized by 0.030 of an inch. That is the largest size that Jaguar recommends before resleeving the cylinders and resizing the pistons to their initial measurements. The markings also confirm absolutely that the engine has been overhauled (not an unusual thing, of course — it would be far more unusual to find an engine of this vintage that had not been overhauled).
 a time, to replace the rings and bearings. Then after one is back in place, we’ll remove the next one, and so on. This, of course depends on whether we’ll need to remove the crankshaft to do whatever needs to be done about the thrust washers. At this point, however, I’m thinking that the issue with the thrust washers was a matter of incorrect installation or perhaps a misfit of part. As a matter of fact, it’s not clear to me that the thrust washers were in fact replaced at the last overhaul. The ones that were mangled may indeed have been the originals. I don’t know yet.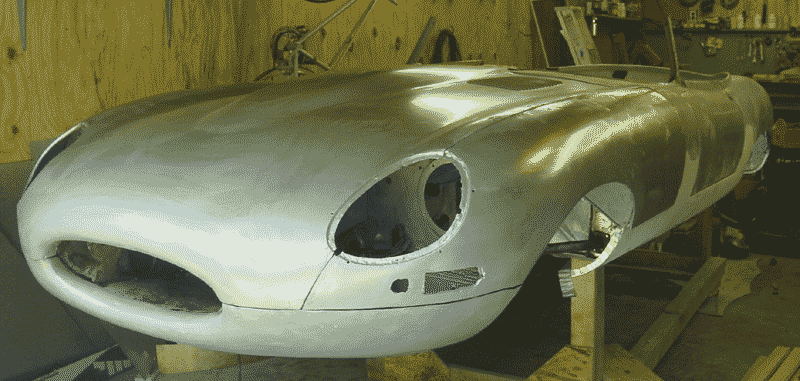
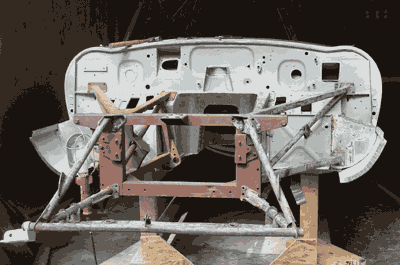 though I still haven’t glued the bonnet pieces together, I figured this would be a good time. As a matter of fact I was hoping that fitting the bonnet to the frame would help clarify any adjustments that I might need to make to get the bonnet internals ready for the adhesive. I crudely tacked the bonnet internals together with some of the bolts and screws and “oval washers” — but I hadn’t by any means fit them all.
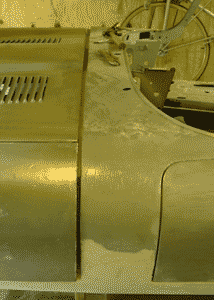 and attach, but the other side (the left) needed a bit more coaxing. Even from the gross fitting, it was apparent that the gap between the back of the bonnet and the body shell was simply too big to surmount. This was especially the case on the right side of the car, where the gap is almost two centimeters wide. On the left side, the gap is almost a normal size, though the bonnet appears to be pitched a little toward the left. Also, the gap was large to begin with, so the only adjustment we could make was to draw the bonnet forward by tightening the hinge bolts. But, of course, they only tighten so far. I believe the usual adjustment is expanding the fit of the hinges to the bonnet — in effect loosening the hinge bolts. This is done with shims. The use of shims helps to widen the gap where bonnet and body meet, and heaven knows we don’t need it any wider there!
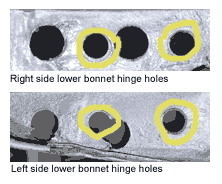 This is where some odd holes I noticed come in, along with the benefit of taking lots of photographs of the car at disassembly.
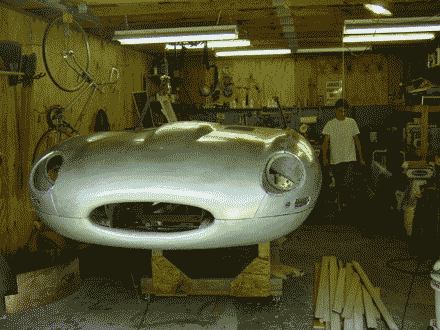 quite apparent. Then I’ll have to repair those silly extra holes!
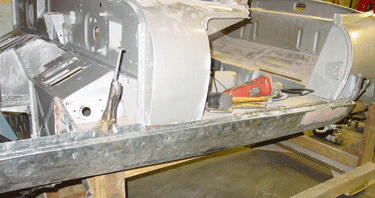
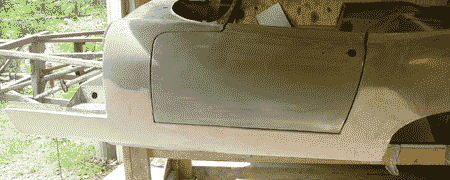 additional body filler had I not been so intent on pushing the sill under the lip of the door frame (which is actually the upper section of the inner sill. I wanted to make sure that there was adequate metal to weld into, which was actually not a problem. Well, next time I won’t make the same mistake.
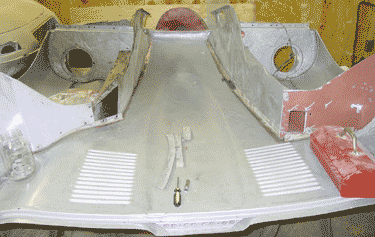 though it probably had the actual effect of decreasing the air flow to the radiator.) There are seven major parts of this internal structure, with some smaller, tab-like parts that are glued to the inside of the bonnet’s center section. Very early E-types had these tabs welded to the section, often resulting in visible dent-like spots along the top of the bonnet to each side of the “performance bulge” in the center. Not too long into the production of the E-type, these tabs were glued — use of adhesives for this purpose was quite new in automobile manufacture, as a matter of fact.
 the cataloging and data entry to get it all current. I’m hoping that rather than adding to the list of parts we can soon begin simply to update records with notations like “painted and ready for installation” — or even better: “installed”
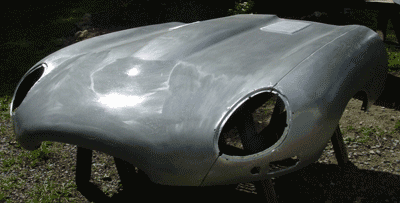 16-gauge steel, and I suspect that will take a fair amount of time. We were able to get most of the bad dents out of the bonnet internals, though there are a few remains of creases that I’ll need to figure out what to do with. Since these are inside the bonnet, I’m less worried about getting everything straight and really tidy, though some of these items will be visible with the bonnet open. (The picture was taken after a second coat of POR-15 over the nose section after I sanded out the insect bodies that had embedded themselves into the paint.)
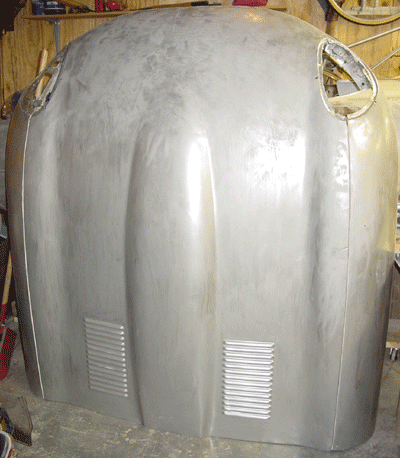 I learned a lesson any schoolboy already knows: if you paint at night under the sky, insects get into the wet paint. And, yes, they did: loads of small gnats drowned in the POR-15 paint. I was able to put two coats of POR-15 on before I ran out. On Friday night I sanded the areas of the bonnet where fly lumps appeared, and now the bonnet is pretty smooth. It is definitely not ready for primer, though. Aaron and I will have to take out the unfortunate lumps and grooves that remain even still. It is almost to the point when a primer and block sanding will take care of everything, but now that the entire construct is a metal-silver it’s much easier to see what might need some more attention. We’ll probably block sand the sealing coat, and perhaps we’ll reapply POR-15 if need be.
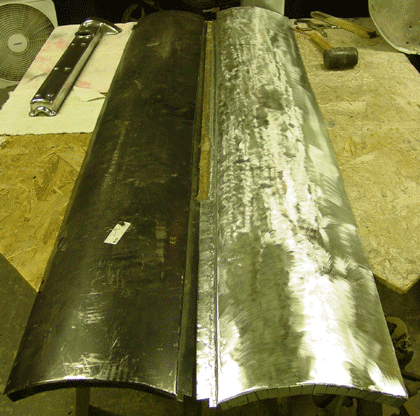 it meets the rest of the car body. Since the car is symmetrical, I just used the right sill as a pattern, reversing the bends and curves so that the piece would fit on the opposite side of the car. It took about four hours to get everything into shape. I still haven’t completed the piece, since I want to trial fit it before doing the final shaping along the ends and making the indentations and grooves on the lower part of the piece. I made sure to give myself some extra material, so that I had some leeway with the bends on the upper section of the piece. The sill I used as a pattern was about 12 inches wide, and I cut my piece 13 inches. It ended up that I will have to trim the lower section a little.