This entry ends the third year of restoration work on the car. It’s been a long haul.
Windshield
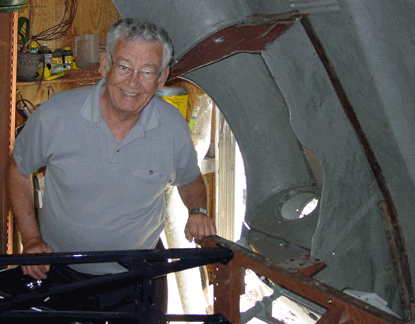
The Cat Cage in Rougemont had a visitor from Oklahoma in early September. Wallace DeLong, also known as “Dad” and “Grandpa,”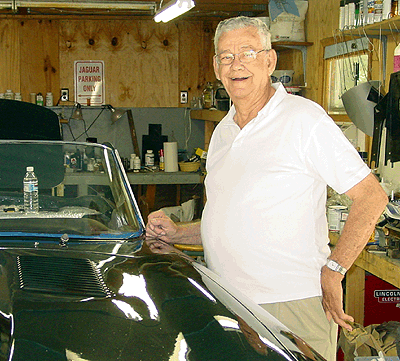 visited for a couple of days, and I set him to work in the garage. The right side door needed its insides put back into place. The left side door was enough of a challenge that I figured it would be a good weekend project for us. And we got rolling along and decided to set the windshield into place as well.
It was good to see Dad again, and he was able to see some progress on the car from the last time he was here.
The windshield is the original Triplex clear laminated glass. When we removed it we did not take off the chrome finishing strip that sits on the top edge of the glass. The glass shows some reparable scratches from the windhsield wiper frames that must have rubbed the glass a bit over the years. This can be buffed out, since the scratches are indetectable with a fingernail, except for a small section on the left side. Cleanup was quick — some 409 cleaner followed by the “Cerama Bryte” glass stove top cleaner took small scratches and the accumulated crud off quite nicely. One puzzling note: We noticed a dark blue deposit on the paper towel that we used to rub off the Cerama Bryte. This was only on the outside-facing side of the windshield and the right-side door window. It may have been a chemical reaction of some sort, though it might have been as simple as some ancient blue overspray from a body shop somewhere a long time ago.
I’m going to try the Cerama Bryte on the wiper scratches. I did a little hard rubbing on the left side blemishes, and the relatively gentle grits in the stuff seemed to work to make the scratches less visible. I figure a buffer might do a good portion of the job, gently applied.
I got the windshield seal from Classic Jaguar, and the first thing we noticed was that it was apparently intended for a “FHC” — Fixed Head Coupe. The seal was circular, so it was intended to go completely around a piece of glass.  I figured there were two possibilities: the seal was mistakenly sent or there was a trick to doing this. I wrote to Dan Mooney, and within a half hour he replied that the seals for the convertible are no longer available and the seal I had on hand could be trimmed to fit nicely.
We looked at the seal in order to determine where the corners were, a task that wasn’t quite as easy as you might think. The seal is molded, but because of the corner curves, it twists in packaging. So you think you find a corner, but it turns out to be a deceptive twist. And then, of course, you need to find upper and lower curves, too. The whole thing moves as you search, so getting a clear idea of where you are on the seal is not so easy.
I tried to mount the seal without cutting it, but I found that was nearly impossible. So I went ahead and cut it in a place I figured (wrongly) was somewhere in the middle of the top edge of the FHC windshield. It turns out I was extremelyclose to the top curve on the right side — about two inches of rubber from cutting into the seal I needed to preserve!
Despite this little near ineptitude, the seal went on well.
One thing that I noticed is that it is best to do the final trim after the windshield is completely in place, because the seal naturally moves down the “A” post as the glass moves downward into position. I initially cut the left side what I thought was rather long, but it turned out to settle down to just barely long enough. My suggestion: trim above the upper curve, and then cut it to size after the windshield is completely in place. The curved seal on top won’t get in the way.
Setting the seal starts in the middle, and setting the chrome strip that’s nestled inside the seal starts in the middle, too. You do get better at alignment as you go through this process. Be careful to get the chrome finishing strip right in the center, because you won’t want to take it out to reset it. The Jaguar shop manual shows a bent wire tool that’s used to set the rubber around the glass and the chrome strip. I didn’t use it, but I found a bent coat hanger to be very useful even though it might have been better if it were a little thinner. The picture below shows it sitting on the car in front of the installed windshield.
Right door insides
I took on the left door earlier this summer, and it was a bit of a job. For the most part the tough part was rediscovering the 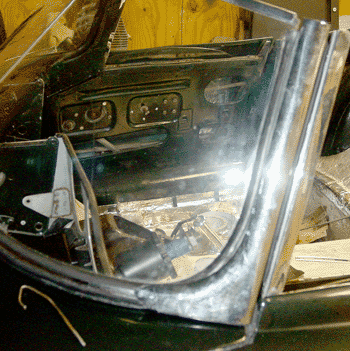 order of installation. First, do the felt or sound deadener and the water tube. Second, install the lock mechanism. Third, install the window slide frame. Last, install the window and the slide mechanism. A movie would really do the trick to show how these (sometimes big) parts slip into that little slit at the top of the door panel. You just need to think about many angles. For getting the windows and the riser into place, at one time we had the window perpendicular to the flat of the panel. You might be tempted to bend the slit a bit wider, but you don’t need to.
We cleaned up the glass with the same stuff, and we noticed the same dark blue residue on the outside face of the window. Strange. Be careful with the flat connection from the door handle to the latch mechanism. It’s easy to pinch in the anchor for the window rising mechanism (the thing that is firmly set with four nuts). I managed to do that on the left side door, and Dad and I repeated the error on the right door, too.
Dad and I have different philosophies about grease. I am liberal and he’s a conservative. We both ended up looking as though we were liberal with grease, much to Dad’s dismay.
I figure it’ll delay rust; he thinks it’ll just get on the windows. I bet we’re both right.
 through Florida to see relatives and participate in a travel exchange with people in Sarasota. I was a little worried about suggesting that we take on a project with the old car, since I didn’t want to impose my restoration work on an unwilling participant, but it actually turned out that Dad wanted to do exactly that.
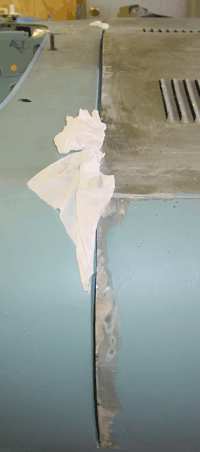 bonnet fit against the lower sections of the bulkhead and the upper sections. Things were slightly wider at the upper part than at the lower, meaning that we could raise the bonnet to even things out.