Right door cleaned and fitted
Removing the guts of the right door was considerably easier than doing the left door, since I had already been through the process once. In a nutshell, this is the 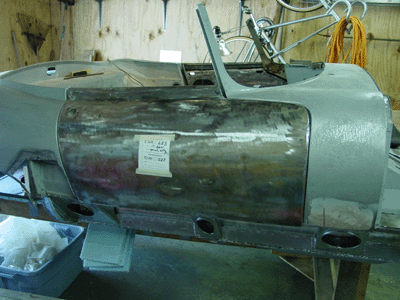 process: 1. Remove the window crank and the door latch handle by pushing the escutcheon away from the handle and pushing the lock pin through the hole. Remove the door panel 2. Remove the lower door hole access plates by drilling out the pop rivets that hold them in place. Scrape off the rubbery weather seal with a knife. 3. Remove the hardware attaching the chrome window rails from the top section of the door and from the two tabs inside the panel assembly at the bottom of the door. 4. Slide the window rails out through the top of the door carefully. 5. Remove the bolts and screws that affix the latch mechanism and the window crank mechanism to the door panel assembly. 6. Carefully pull the window glass through the top of the door and, after the glass is completely free, remove the window crank mechanism. You will have to adjust the crank mechanism to pull the glass free without binding the mechanism in the door panel assembly. 7. Remove the bolts that hold the exterior door latch handle. This is done inside the door panel. Then unclip the door latch mechanism from the inside of the latch handle. 8. Remove the handle from the outside of the door and then the latch assembly through the access holes in the door panel assembly. (You can remove the anti-drum material any time you can get a hold of it.)
By the way, the right door was in better shape than the left. There were no rust holes, and what rust there was stayed on the surface. It hung a little better than the left door, too. We did a little channel work on the left door, but the right door didn’t really need anything. I’ll probably get fussier, though, and mess with the fit a little bit.
Right front suspension partially disassembled
We removed the right front suspension intact a while ago, but it became time to disassemble it. I would like to have the wishbones, the fulcrum shafts, and other parts nickel plated, so we needed to completely take the thing apart. Also, many internal parts will need replacement, such as the brake cylinder rings and rubber parts and  the wheel bearings. We were able to get much of the assembly apart, but I decided to bring the tough-to-disassemble parts into a local British automobile dealership and service shop. They had the tools and the experience with the items to take them apart completely, and I didn’t have to puzzle over it.
I have already the retrieved the disassembled parts from the shop (I’m writing this on 23 April), though I haven’t looked at the work yet. We have another suspension assembly to take off the front frame, and I’d like to get it into shape for plating. It’s still not clear to me how much nickel plating will actually cost. This is not super smooth chrome plating for a bumper but much rougher, and I’m hoping it won’t cost too horribly much.